
Star Signs are special boosts you can unlock by finding hidden Constellations in various maps in IdleOn. Each Constellation has a task that is required to be completed in order to unlock them.
You can unlock Star Signs in World 1 (Blunder Hills) and initially have one active star-sign per character.
As you progress, you have can multiple star signs equipped.
How To Unlock Star Signs

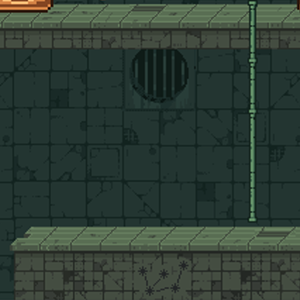
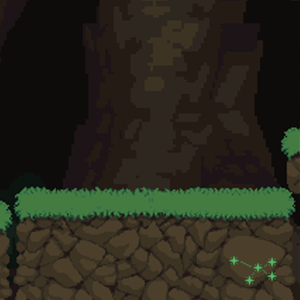
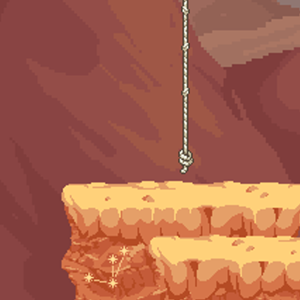
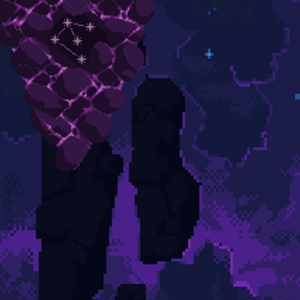
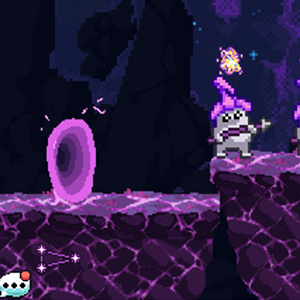
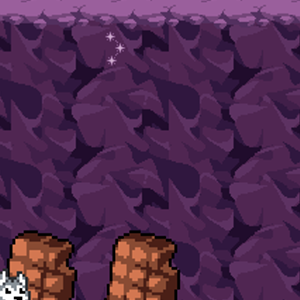
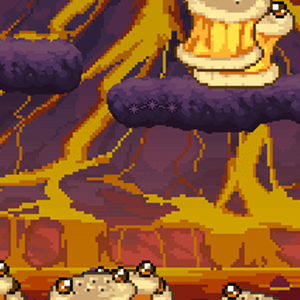
Star Signs can be unlocked by going to the Where The Branches End map. You can find this map by going to the Slimes map (Jungle Peremiter), then to The Base Of The Bark, Hollowed Trunk and then finally Where The Branches End.
To unlock Star Signs you must click on the Constellation sign located in Where The Branches End. Here it will pop-up showing the task you need to complete: AFK for 1 Hour in the current map.
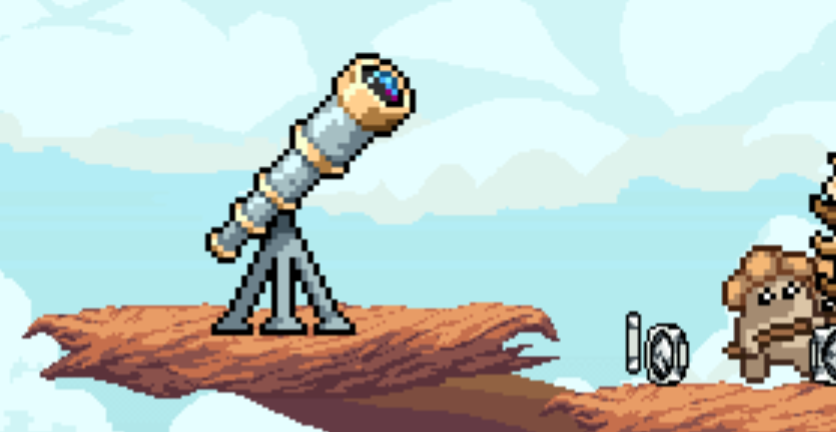
Upon completing this task, you can click on the Telescope and load up the Star Sign interface. It will also be available from your Codex as a quick short-cut menu. Once unlocked on one character, the Star Sign is available to all characters on your account.
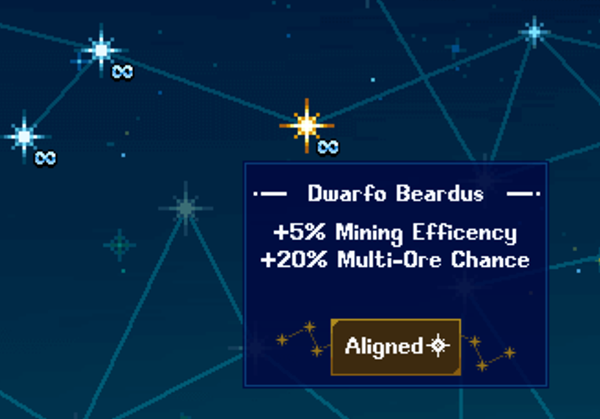
The Star Sign UI will display all the star signs you have unlocked. Clicking on a Star Sign will show you the stat boost it provides and giving you the option to make it active by selecting the Align button.
The Star Signs are grouped into Cosmos, with the starting category unlocked automatically called Chronus Cosmos. You'll need to unlock more Star Signs to unlock the other Cosmos.
To unlock a Star Sign, you need to spend Constellation Points to unlock it.
Each Constellation that you find in the IdleOn Maps and complete the required task, will reward you with a specific amount of Constellation Points.
Star Signs Boosts
Here are all the Star Signs you can unlock, the boosts they provide and the cost of unlocking them (Constellation Points).
| Star Sign | Boost | Cost |
|---|---|---|
| The Buff Guy | +1% Total Damage +3 STR |
0 |
| Flexo Bendo | +2% Movement Speed +3 AGI |
0 |
| The Book Worm | +1% Class EXP Gain +3 WIS |
0 |
| The Fuzzy Dice | +3 Talent Points +3 LUK |
0 |
| Dwarfo Beardus | +5% Mining Efficency +20% Multi-Ore Chance |
2 |
| Hipster Logger | +5% Chop Efficiency +20% Multi-Log Chance |
2 |
| Pie Seas | +5% Fishin Efficency +20% Multi-Fish Odds |
2 |
| Shoe Fly | +5% Catch Efficiency +20% Multi-Bug Chance |
2 |
| Blue Hedgehog | +4% Movement Speed +0.0001% Ring Drop |
3 |
| Gum Drop | +15% to get a Time Candy when claiming 8+ Hour AFK gains | 2 |
| Activelius | +15% Class EXP when fighting actively | 2 |
| Pack Mule | +10% Carry Cap | 2 |
| Ned Kelly | +6% Defence +2 Weapon Power |
2 |
| Robinhood | +4% Accuracy +2% Movement Speed +1 Cant Trade GME |
2 |
| Pirate Booty | +5% Drop Rate | 2 |
| Muscle Man | +8 STR | 1 |
| Fast Frog | +8 AGI | 1 |
| Smart Stooge | +8 WIS | 1 |
| Lucky Larry | +8 LUK | 1 |
| Silly Snoozer | +2% Fight AFK Gain | 3 |
| The Big Comatose | +2% Skill AFK Gain | 3 |
| Miniature Game | +30% minigame reward | 2 |
| Mount Eaterest | +10% chance to not consume food +15% All Food Effect |
2 |
| Bob Build Guy | +10% Speed in Town Skills | 3 |
| The Big Brain | +3% Class EXP gain | 3 |
| The OG Skiller | +5% Carry Cap +1% Skill AFK gain +2% All Skill Prowess |
4 |
| Grim Reaper | +2% Mob Respawn rate | 4 |
| The Fallen Titan | +3% Boss Damage +4% Crit Chance |
2 |
| The Forsaken | -80% Total HP -50% Defence +6% Fight AFK Gain |
4 |
| Mr No Sleep | -6% AFK Gain +30% Carry Cap |
4 |
| Sir Savvy | +3% Skill EXP gain | 3 |
| All Rounder | +4 All Stats | 2 |
| Fatty Doodoo | -3% Movement Speed +5% Defence +2% Total Damage |
2 |
| Chronus Cosmos | All characters can now align with 2 Star Signs at once | 3 |
| All Rounderi | +1% All Stat i.e. STR/AGI/WIS/LUK | 1 |
| Centaurii | +10% Accuracy | 1 |
| Murmollio | +10% Defence | 2 |
| Strandissi | +3% STR | 2 |
| Agitagi | +3% AGI | 2 |
| Wispommo | +3% WIS | 2 |
| Lukiris | +3% LUK | 2 |
| Pokaminni | +15% Card Drop (Outside of Dungeons) | 2 |
| Gor Bowzor | +12% Boss Damage | 2 |
| Hydron Cosmos | All characters can now align with 3 Star Signs at once | 2 |
| Trapezoidburg | +20% Critters/Trap +10% Trap Efficiency |
3 |
| Sawsaw Salala | +25% Construct Exp | 3 |
| Preys Bea | +15% Worship Efficiency +15% Worship EXP |
3 |
| Cullingo | +15% Total Multikill | 3 |
| Gum Drop Major | +40% to get a Time Candy when claiming 40+ Hour AFK gains |
3 |
| Grim Reaper Major | +4% Mob Respawn rate (If Lv&60) | 3 |
| Sir Savvy Major | +6% Skill EXP gain (If Lv&70) | 4 |
| The Bulwark | +20% Total Damage -12% Movement Speed |
4 |
| Big Brain Major | +6% Class EXP gain (If Lv&80) | 4 |
| The Fiesty | +6% Total Damage | 5 |
| The Overachiever | +15% Total Damage -7% Fight AFK Gain |
5 |
| Comatose Major | +4% Skill AFK Gain (If Lv&90) | 5 |
| S. Snoozer Major | +4% Fight AFK Gain (If Lv&100) | 5 |
| Breedabilli | +35% Breedable Spd +15% Shiny Pet LV spd |
4 |
| Gordonius Major | +15% Cooking SPD (Multiplicative!) | 4 |
| Power Bowower | +30% Pet DMG for Breeding Skill | 4 |
| Scienscion | +20% Lab EXP Gain | 4 |
| Artifosho | +15% Artifact Find Chance (Multiplicative) | 4 |
| Divividov | +30% Divinity EXP | 4 |
| C. Shanti Minor | +20% Sailing SPD | 4 |
| Muscle Magnus | +50 STR | 1 |
| Cropiovo Minor | +3% Crop Evo chance per Farming LV | 2 |
| Fabarmi | +20% Farming EXP | 2 |
| O.G. Signalais | +15% OG Chance | 2 |
| Lightspeed Frog | +50 AGI | 3 |
| Beanbie Major | +20% Golden Food bonuses | 3 |
| Damarian Major | +25% Total Damage | 4 |
| Lotto Larrinald | +50 LUK | 5 |
| Intellostooge | +50 WIS | 4 |
| S. Tealio | +12% Ninja Twin Stealth | 3 |
| Sneekee E. X. | +15% Sneaking EXP | 3 |
| Jadaciussi | +10% Jade Gain (Multiplicative!) | 3 |
| Druipi Major | +12% Drop Rarity | 4 |
| Sumo Magno | +20% Summoning EXP | 4 |
| Killian Maximus | +3% Multikill Per Tier | 5 |
| Seraph Cosmos | All characters now get 1.10x Star Sign bonuses per 20 Summoning LV | 11 |
| Glimmer of Beyond | This star sign is unreachable for now... | 999 |
Constellation Locations and Tasks
Each Constellation is hidden in a specific map in IdleOn. Each Constellation also has a specific task that needs to be completed; upon completing it you'll be given Constellation Points that you can spend to unlock more Star Signs.
| Image | Map | Task | Points |
|---|---|---|---|
 |
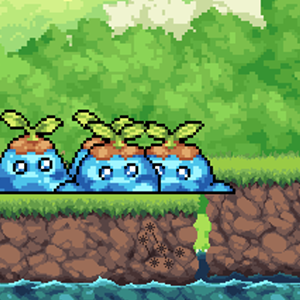
Blunder Hills | Reach Lv 30 on four players | 3 |
 |
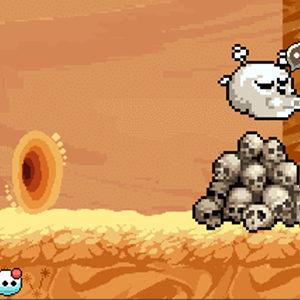
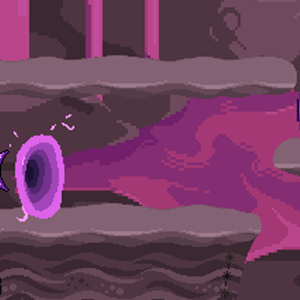
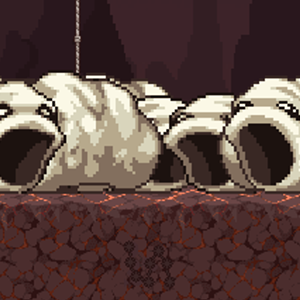
Where the Branches End | AFK here for 1+ hours. | 3 |
 |
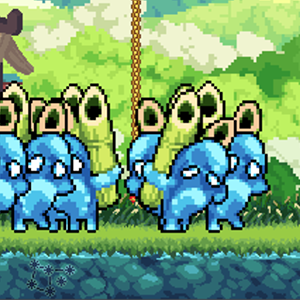
Valley Of The Beans | Reach this star on 4 players | 3 |
 |
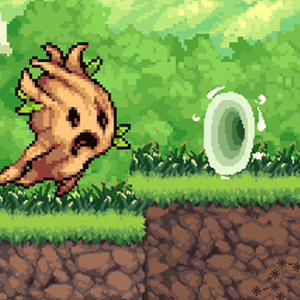
Tucked Away | Reach this star on 3 players | 4 |
 |
The Office | Defeat Dr. Defecaus on 3 players | 5 |
 |
Freefall Caverns | Reach this star as any Archer Class | 3 |
 |
Winding Willows | AFK here for 2+ hours on 2 players | 3 |
 |
Dewdrop Colosseum | Clear the colosseum on 3 players | 4 |
 |
End Of The Road | Defeat Amarok in under 20 seconds on 3 players | 5 |
 |
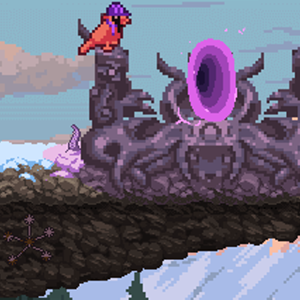
Echoing Egress | Reach this star as any Mage Class | 4 |
 |
The Mimic Hole | Reach this star on 3 players | 4 |
 |
Faraway Piers | Reach this star as any Mage Class | 4 |
 |
The Grandioso Canyon | AFK here for 4+ hours on 3 players | 4 |
 |
Slamabam Straightaway | Reach this star on 4 players | 5 |
 |
Sandstone Colosseum | Clear the colosseum on 4 players | 3 |
 |
Efaunt's Tomb | Defeat Efaunt as any Beginner Class | 5 |
 |
Up Up Down Down | AFK here for 8+ hours on 3 players | 3 |
 |
YumYum Grotto | Reach Lv 65 on four players | 4 |
 |
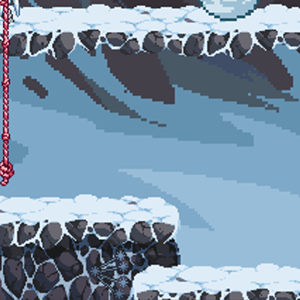
Frostbite Towndra | Reach Lv 90 on 6 players | 6 |
 |
Steep Sheep Ledge | Defeat a sheepie barehanded on four players | 4 |
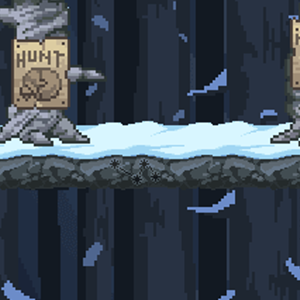 |
Trappers Folley | Reach Lv 15 trapping on five players | 4 |
 |
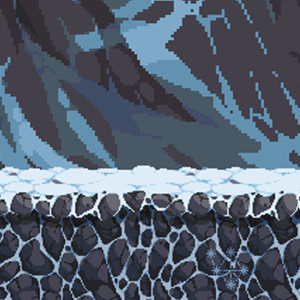
Refrigeration Station | AFK for 16+ hrs on 3 players | 4 |
 |
Rollin' Tundra | Reach wave 11 on 4 players | 5 |
 |
Thermonuclear Climb | AFK for 10+ hrs on 9 players | 5 |
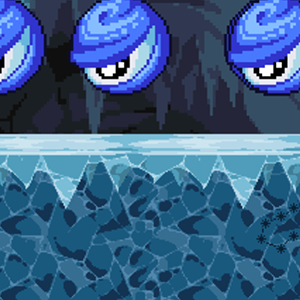 |
Crystal Basecamp | Reach this star on 6 players | 6 |
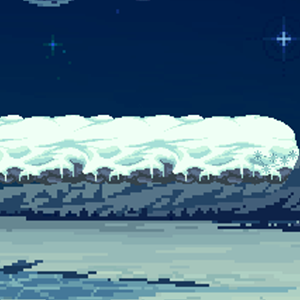 |
Hell Hath Frozen Over | Kill a bloodbone on 4 players | 5 |
 |
Outer World Town | Reach Lv 120 on 8 players | 5 |
 |
Spaceway Raceway | Defeat all mushrooms before any respawn on 3 players | 3 |
 |
Donut Drive-In | Reach Lv 15 Cooking on 4 players | 4 |
 |
Wurm Highway | Reach this star on 3 players | 4 |
 |
Cocoa Tunnel | Defeat all choccies before any respawn on 4 players | 3 |
 |
Standstill Plains | Reach this star on 4 players | 3 |
 |
Shelled Shores | Hit a megacrit on a Clammy on 4 players | 3 |
 |
Magma Rivertown | Reach Lv 200 on 10 players | 5 |
 |
Niagrilled Falls | Defeat all maccies before any respawn on 6 players | 4 |
 |
Cracker Jack Lake | Reach this star on 10 players | 3 |
 |
Erruption River | Successfully gather dandielogs on 3 players | 4 |
 |
OJ Bay | Defeat all citringes before any respawn on 7 players | 5 |
 |
Miner Mole Outskirts | Reach this star on 10 players | 5 |
 |
The Worm Nest | Defeat 100 Wurms in under 100 sec from entering the map, on 5 players | 8 |
 |
Spirit Village | Reach Lv 420 on 4 players, and keep this Constellation a secret... just a lil' secret between you and me... | 7 |
 |
Gooble Goop Creek | Take no damage on 3 players, you need 28521 DEF to be damageless | 6 |
 |
Irrigation Station | Reach this star on 10 players | 6 |
 |
Edge of the Valley | Defeat all Woodlins without a helmet or weapon equipped on 3 players. You must enter the map without helmet or weapon. | 6 |
| Lightway Path | Run from left portal to right portal without touching a lantern spirit, on 4 players. All mobs must be alive when you start. | 6 | |
| Above the Clouds | Defeat a Giant Leek Spirit on 5 players | 7 | |
| Dozey Dogpark | Successfully gather Effervescent Logs on 5 players | 7 | |
| Yolkrock Basin | Defeat all Royal Eggs before any respawn on 7 players | 8 | |
| Emperor's Castle Doorstep | Defeat 100 Samurai Guardians within 100 seconds of entering the map, on 8 players | 9 |
Infinity Star Signs
When you reach Rift 11 at The Rift, you'll unlock the Infinity Star Signs bonus.
Infinity Star Signs upgrades your existing unlocked Star Signs and will permanently make them active to your characters. It will also remove any negative bonuses the Star Sign may apply.
However, each Infinity Star Sign is unlocked in a specific order. By default you'll get:
- The Buff Guy
- The Book Worm
- The Fuzzy Dice
- Flexo Bendo
- Dwarfo Beardus
You can then unlock more Infinity Star Signs by breeding Shiny Pets.

Discussion