World 1 of Idleon is where every new character starts out and this guide will get you started in the area known as Blunder Hills. Here you'll be introduced to three new classes, two new skills and a multitude of different mechanics to play as you begin your Idleon Adventure.
- Blunder Hills
- Blunder Hill Unlockables
- Free Pet
- World 1 Main Quests
- World 1 Boss - Amarok
- Orion Owl Mini-Game
- World 1 Skills - Mining and Chopping
- World 1 Party Dungeon
- World 1 Colosseum
- World 1 Daily Quest
If this is your first time playing Idleon, you should check out our beginners guide to help you get started. Every new account starts out slow, but you'll slowly pick up more and more activities that you can start managing to boost your stats and account.
World One (also referred to as W1) is called Blunder Hills. Even when you unlock W2, you'll be making trips back to W1 often to continue to upgrade your resources.
That being said, let's get started!
Blunder Hills
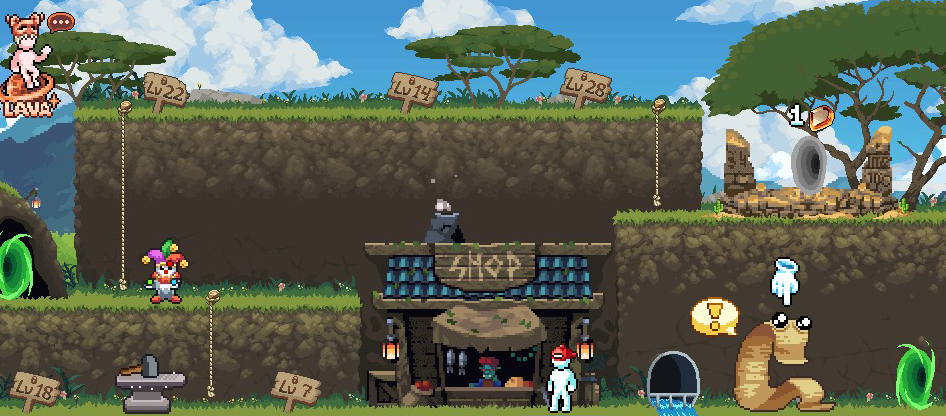
After you complete the tutorial, you'll land in Blunder Hills, the starting town for World 1. At first glance, Blunder Hills will seem quite empty, but you'll unlock more features as you Level Up.
Main Quests
Your first aim for World 1 should be to defeat the World 1 Boss, Amarok. This will allow you to access World 2 and also start getting useful resources that can allow you to craft the Amarok Equipment set.
In order to unlock the World 1 Boss, you need to complete several World 1 Main Quests by speaking to Scripticus in Blunder Hills. You can find all these quest details below.
Side Quests
You'll also be able to pick up several side-quests in World 1 as you play through it. Many of the quests will offer you various rewards like Time Candy, Storage Slots and equipment.
You don't need to complete all of these- and many of them are incredibly difficult as a beginner player. You can accept as many quests as you like and view them via the Codex tab. You can always come back to complete them at a later date (and should!).
Free Hat
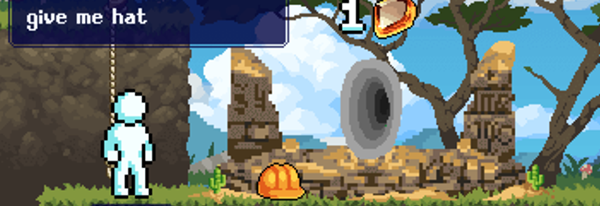
You can get a Real Civil Engineer Helmet with great stats for early game by jumping onto the platform that unlocks World 2 and typing the following message: give me hat
You can do this on all your characters!
Town Shop
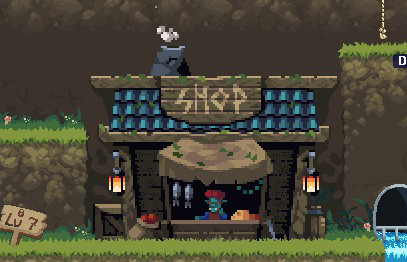
The Blunder Hills town shop sells the following items. The Stock Quantity resets every day.
Item | Cost | Quantity | Utility |
---|---|---|---|
Nomwich | 8 bronze | 750 | Restores 20 HP |
Hot Dog | 28 bronze | 750 | Restores 50 HP |
Cheezy Pizza | 80 Bronze | 750 | Restores 125 HP |
Cue Tape | 12 Bronze | 4999 | Crafting material |
Small Mana Potion | 20 Bronze | 500 | Boosts Mana Regen by 20% |
Small Strength Potion | 20 Bronze | 400 | Boosts Base Dmg by 50. |
Small Life Potion | 16 Bronze | 400 | Boosts Base HP by 75. |
Small Speed Potion | 28 Bronze | 400 | Boosts Move Spd by 10% |
Crude Oil | 32 Bronze | 1000 | Forge material |
Weapon Upgrade Stone I | 5 Silver | 12 | Upgrades equipment |
Armor Upgrade Stone I | 4 Silver | 24 | Upgrades equipment |
Tool Upgrade Stone I | 4 Silver, 40 Bronze | 16 | Upgrades tools |
Pugilist Demise | 1 Gold, 60 Silver | 1 | Ring Equipment |
Power Statue | 40 Bronze | 3 | Statue |
Sculpting Tools | 16 Silver | 4 | Quest item |
Target Stamp | 4 Silver | 1 | Stamp |
Shield Stamp | 16 Silver | 1 | Stamp |
Mana Stamp | 60 Silver | 1 | Stamp |
Bummo Bag | 96 Bronze | 1 | Inventory Slots |
Storage Chest 2 | 8 Silver | 1 | Storage Slots |
Storage Chest 6 | 32 Silver | 1 | Storage Slots |
Storage Chest 7 | 1 Gold, 40 Silver | 1 | Storage Slots |
Basketball | 4 Silver | 1 | Mini Game |
Bottled Town Teleport | 2 Silver | 50 | Town Teleport item |
Talent Point Reset Fragment | 8 Silver | 1 | Need 10x to create a Talent Reset Potion |
Blunder Hill Unlockables
As you level up your main character, you can unlock various areas of Blunder Hills.
Anvil - Level 1
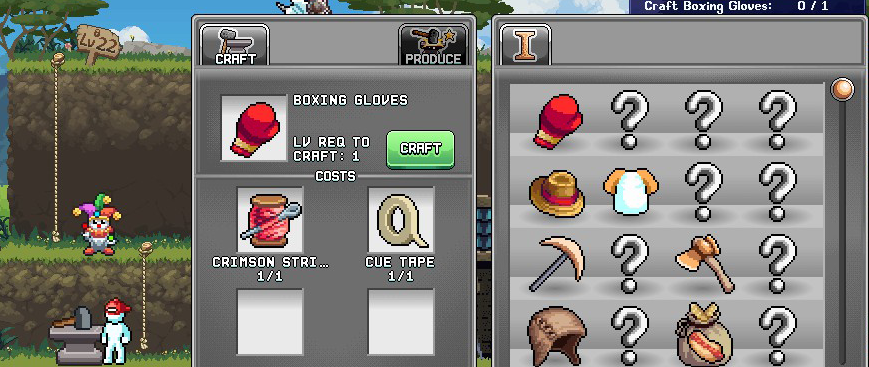
The Anvil is your go-to for upgrading your account. It contains many essential items for boosting your account, so take a look at it when you get a chance.
You can use the Anvil to not only craft new equipment and tools, but also items to increase your storage and inventory slots.
You'll start with Anvil Tab 1, but you can unlock Anvil Tab 2 by crafting the Anvil Tab 2 item, which will give you more items to craft.
You can learn Recipes from various areas of the game to unlock new items to craft. Click on a Question Mark to see how to unlock the item.
Produce Tab
The Produce Tab on the Anvil allows you to slowly generate materials over time. At Level 1 you'll only be able to generate Thread items, but you'll unlock more as you level up. You'll need these items to craft certain items.
You can have all your characters producing items from the Anvil, so make sure you don't forget to assign them to an item!
The Infinity Hammer from the Gem shop allows you to produce +1 extra item per character at the same time.
Storage Chest - Level 7
The Storage Chest provides you with more inventory slots to store your items. The Storage Chest is shared between all your characters, allowing you to easily transfer items and money as you see fit.
Arcade - Level 8
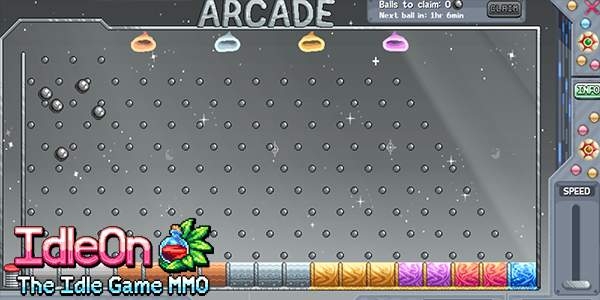
At Level 8 you can unlock the Arcade by speaking to the Clown NPC. You will gain 1 Arcade Ball every hour, but this rate can be increased by various methods in Idleon.
The Arcade Balls can then be launched in the game, and depending on which "bucket" they land in, will give you various bonuses like Gems and Coins.
You can also spend Gold Balls that you earn from the game in the Shop for other bonuses.
Stamp Collection - Level 14
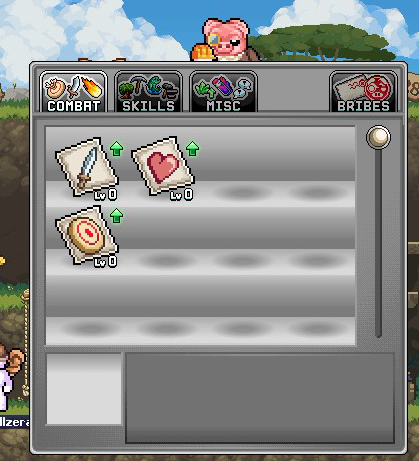
The Stamp Collection allows you to gain various stat bonuses by using monster resources and coins to level up stamps.
At Level 14, you can unlock this feature in Blunder Hills and speaking to Mr Pigibank. You can then buy 3 Stamps from the Blunder Hills Town Shop to start unlocking the bonuses:
- Target Stamp - Increases Accuracy
- Shield Stamp - Increases Defense
- Mana Stamp - Increases Mana
You'll also have four stamps already unlocked:
- Sword Stamp - Increases Base Damage
- Heart Stamp - Increases Base HP
- Pickaxe Stamp - Increases Base Mining Efficiency
- Hatchet Stamp - Increases Base Choppin' Efficiency
You should try to level all of these up to Level 5 as they don't cost very much to upgrade. Every 5 levels you'll then need materials to increase to the next level.
Town Forge - Level 18
The Town Forge can be unlocked at Level 18. This is exactly the same one as in the Mining Tunnel but allows for more easier access by being in your home town map.
Statue Man - Level 22
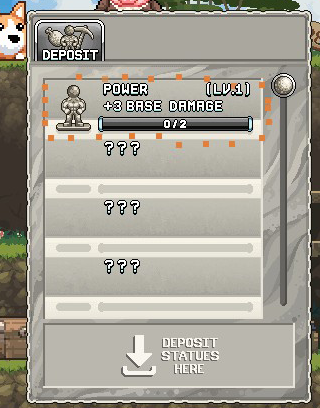
At Level 22, you can purchase the Statue Man.
Accept the quest on the block of stone and purchase a Scripting Tool from the Blunder Hills Town Shop to complete the quest.
You can then deposit statues you find from mobs to the Statue Man for stat bonuses. These bonuses are not shared among all your characters until you purchase the Golden Statue from World 2.
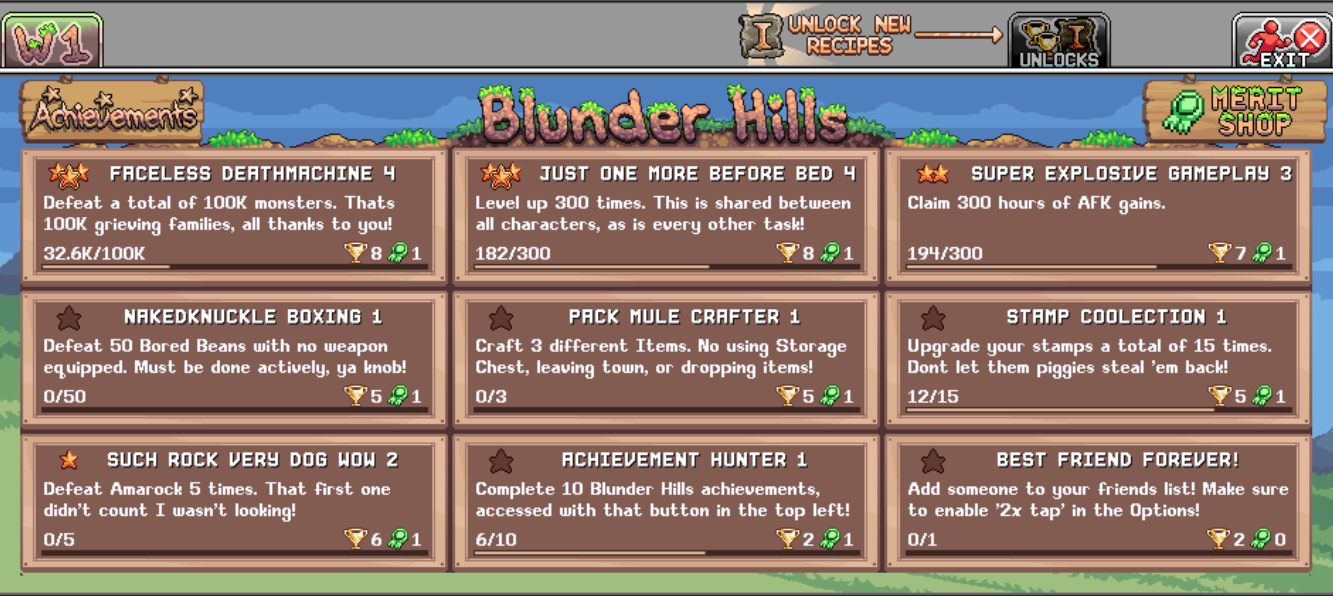
Tasks and Achievements - Level 28
At Level 28, you can unlock the Tasks board and Achievements section.
The board will display a list of tasks you can complete; once you've met the requirements you can click on the task to be rewarded Merits and Unlock Trophies.
Merits can be spend on various bonuses from the Merit Shop.
Unlock Trophies will give you Unlock Points from the Unlocks tab. You need to earn a cumulative amount of unlock trophies to reach the next Unlock Point, so it's well worth doing the daily task for the trophies.
The best items in the Merit Shop for World 1 are the Goblet of Hemoglobin Star Talent (heals you whilst you fight) and unlock the Amarok Recipes.
Free Pet
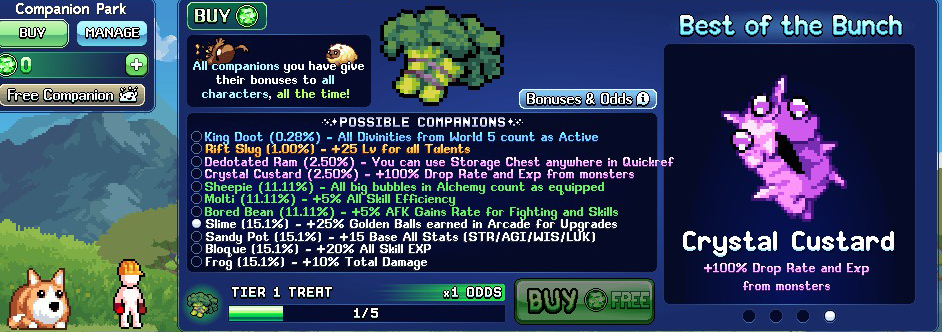
You can get a free pet once per week by speaking to the dog in Blunder Hills. Each pet will give you a specific bonus and they stack among all your characters.
World 1 Main Quests
Speak to Scripticus in Blunder Hills to get started.
Quest #1 - Hardcore Gamer Status, Here I Come!
The first quest requires you to defeat 5 Green Mushrooms. You can find them on the first map to the right of Blunder Hills called Spore Meadows.
Return to Scripticus to complete the quest.
Rewards:
- 1 Crimson String
- 100 Coins
- 37 Main EXP
Quest #2 - Gear Up, Gamer!
- Craft Boxing Gloves
- Buy Tape from Shop
The next quest introduces you to crafting. Buy 1 Tape from the Shop NPC and click on the Anvil to craft the Boxing Gloves.
Rewards:
- 150 Coins
- 3 Bottled Town Teleport
Quest #3 - Mr. Worldwide
- Reach map 2
- Equip Boxing Gloves
- Use Teleport in MAP
Equip the new Boxing Gloves you just crafted. Open your Inventory and drag it into the Weapon Slot.
Head to Spore Meadows and defeat the required Green Mushrooms to unlock the next map portal so you can access Map 2: Froggy Fields.
Now open your world map view by clicking the Map icon in the task bar. Select Blunder Hills (the large yellow icon on the map) and select Teleport to take you instantly back to town.
Rewards:
- 1 Inventory Bag
- 15 Main EXP
Quest #4 - The Choice Is Yours!
- Spend 5 Talent Points
Next up, you need to spend your Talent Points.
Every time you level up your main class you get 3 Talent Points to spend. Every time you level up a skill you get 1 Talent Point to spend.
Spend your first 5 Talent Points in Sharpened Axe to increase your Weapon Power.
Rewards:
- 1x 1HR Time Candy
- 480 Coins
Quest #5 - Certified Swinger, Of Pickaxes Of Course!
- Collect Mining Certificate
The next quest requires you to complete 3 side-quests related to the skill Mining.
Head to the mines (Tunnel Entrance), which is the portal on the left of Blunder Hills.
Speak to Glumlee and he will ask you to mine 2 Copper Ores. To mine, simply select the Ore deposits and watch as your character starts to mine. When you successfully mine the ore, a Copper Ore will drop in front of the deposit. Collect it so it goes into your Inventory.
Speak to Glumlee to complete the quest.
Rewards:
- 1 Junk Pickaxe (missing)
- 50 Mining EXP
- 200 Coins
Equipping the Junk Pickaxe will increase your mining efficiency.
Speak to Glumlee again and accept the quest Learning To Smelt. You now need to turn your two Copper ores into a Copper Bar.
To do this, click on the Forge in the mining map. Drag the Copper ore into the Ore slot and the Glumlee's Special Tutorial Oil into the oil slot. Once the Copper Bar has been created, drag it into your Inventory.
Speak to Glumlee to complete the quest.
Rewards:
- 20 Mining EXP
- 10 Bottled Town Teleport
Speak to Glumlee again and accept the quest Literally Burning Your Money.
Click on the Forge again and select the upgrades tab. Purchase 2 upgrades. Speak to Glumlee to complete the quest.
Rewards:
- 1 Mining Certificate
- 1 Miniature Mining Pouch
- 15 Mining EXP
With your new Mining Certificate, head back to Scripticus to complete the main quest.
Rewards:
- 1 Junk Pickaxe
- 50 Mining EXP
- 200 Coins
Quest #6 - The Smithing Grind
- Craft Farmer Brim
- Craft Orange Tee
The next quest requires you to craft a Farmer Brim and Orange Tee. Select the Anvil in Blunder Hills to craft them.
The Farmer Brim requires 4 Spore Caps (if you don't have enough, go to Spore Meadows and slay some mobs until you have enough).
The Orange Tee requires 1 Copper Bar (that you hopefully saved from getting your Mining Certificate).
Rewards:
- 1 Mini Materials Pouch
- 1 Beginner Recipe
- 200 Main EXP
Quest #7 - Warrior, Archer or Mage?
- Collect Class Certificate
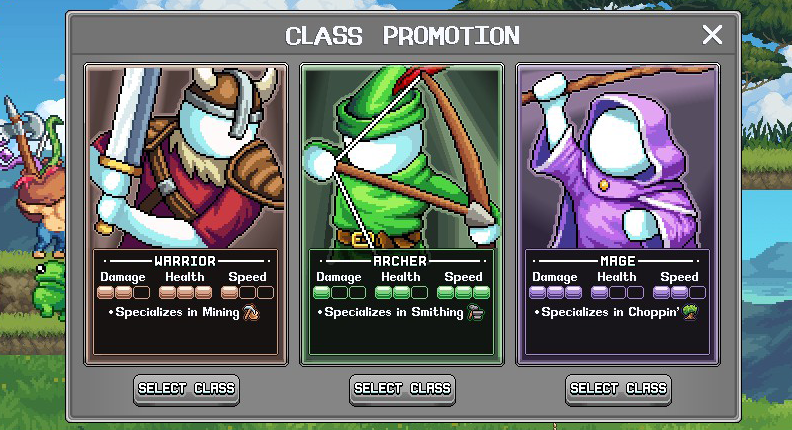
The next quest requires you to reach Level 10 and job advance to your first class: Warrior, Archer or Mage.
To Job Advance, you need to make your way through the Blunder Hill maps first.
Head back to Froggy Fields and defeat 30 Frogs to unlock the next map: Valley Of The Beans.
Here you'll find Promotheus, who will allow you to job advance once you reach Level 10.
If this is your first character, you'll probably want to create a Warrior as they have lots of HP, deal good damage and are good at Mining.
Once you've selected your class, speak to Promotheus again to get your Class Certificate.
Head back to Blunder Hills and speak to Scripticus to complete the quest.
Rewards:
- Inventory Bag B
- 1 Small Material Pouch
- 500 Coins
Quest #8 - What Lies At The Heart Of The Forest
- Reach Boss Room
- Portals Unlocked: 7
The next quest requires you to reach the Boss room, which is located near the end of Blunder Hills.
To do so, you'll need to unlock several portals along the way, which requires defeating mobs inside of them.
Portals:
- Spore Meadows: 20 Green Mushroom
- Froggy Fields: 30 Frogs
- Valley Of The Beans: 40 Bored Bean
- Jungle Perimeter: 60 Slimes
- Winding Willows: 100 Baby Boa
- Vegetable Patch: 125 Carrotman
- Forest Outskirts: 150 Glublin
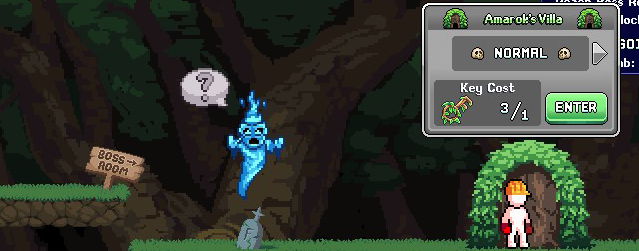
Once you reach Encroaching Forest Villas, you have arrived at the map that allows you to enter the World 1 Boss: Amarok!
However, before you can fight him, you need to complete a quest from the blue genie called Dog Bone.
Defeat the Board monsters in this map until they drop 3 Dog Bone items.
Upon completing his quest, he will give you 3 Forest Villa Keys. Each key allows you 1 attempt at the boss. You can gain 1 key per day per character that has completed this quest. Click on the keys in your inventory to consume them.
Click on Amarok's Villa to complete the rest of this quest (you don't need to enter) and return to Scripticus to complete the quest.
Rewards:
- Inventory Bag C
- 10 Bottled Town Teleports
- 2,500 Main EXP
Quest #9 - The Bigger They Are, The Bigger They Fall!
- Amarok Boss Defeated
- Town Gem Recovered
This quest requires you to defeat Amarok. Upon defeating him, he will also drop the Town Gem used to unlock World 2!
Rewards:
- Special Talent Book (Will Of The Eldest)
- 5,000 Main Exp
- 4000 Coins
Quest #10 - Champion Of The Grasslands
The final quest that Scripticus gives you is to earn the following tokens:
- Blunderhills NPC Completion Token
- Blunder Skills Completion Token
- Blunderhills Misc Completion Token
These tokens can be crafted at the Anvil, but require you to complete many time-consuming quests in order to obtain them.
You're better off returning to this quest when you get a bit stronger.
Reward:
- Blunder Hero
World 1 Boss - Amarok
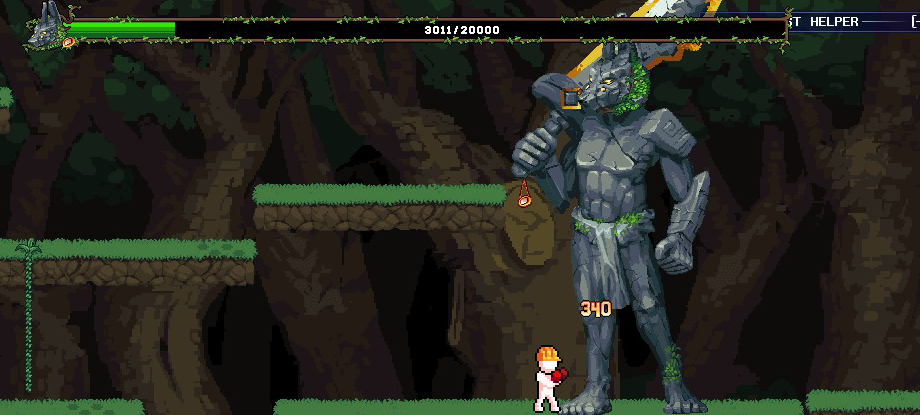
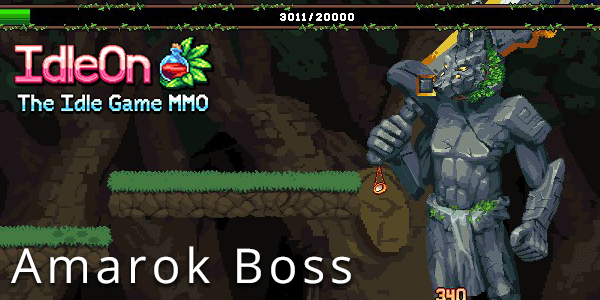
The World 1 Boss is known as Amarok and you can access him from the Encroaching Forest Villas map in Blunder Hills.
You'll need a Forest Villa Key from Dog Bone (you can get 1 per day per character) to enter his fight.
Amarok is quite easy to defeat and doesn't require much damage at all. By the time you reach his map, you should be able Level 20, and with a few boosts, you should be able to take him down.
Amarok drops the Amarok Stone that is needed to craft his gear so you'll want to take down Amarok as often as possible. Push all your characters to reach Amarok so you can get more keys per day (you can then defeat him multiple times on one character).
Amarok Tips
- Average Strength Potion can increase your base damage by 150 (obtained from vendor in Encroaching Forest Villas map)
- Small Life Potion can increase your HP by 75 (obtained from vendor in Blunder Hills town map)
- You can switch out potion boosts during the fight if your HP gets low and replace it with food to heal
- You can ignore the Health Stone that is summoned since it won't impede you too much
- You should destroy the Defense Stone since that will reduce your damage to 10.
- Stand as close as possible to Amarok to avoid most of his attacks.
- When he is about to shoot out his super punch attack, keep your character moving to dodge it.
- When he lifts his leg, jump onto the lowest platform in front of the statue to dodge his spikes
- Make sure your Inventory is empty before going in so you can loot all the items that drop.
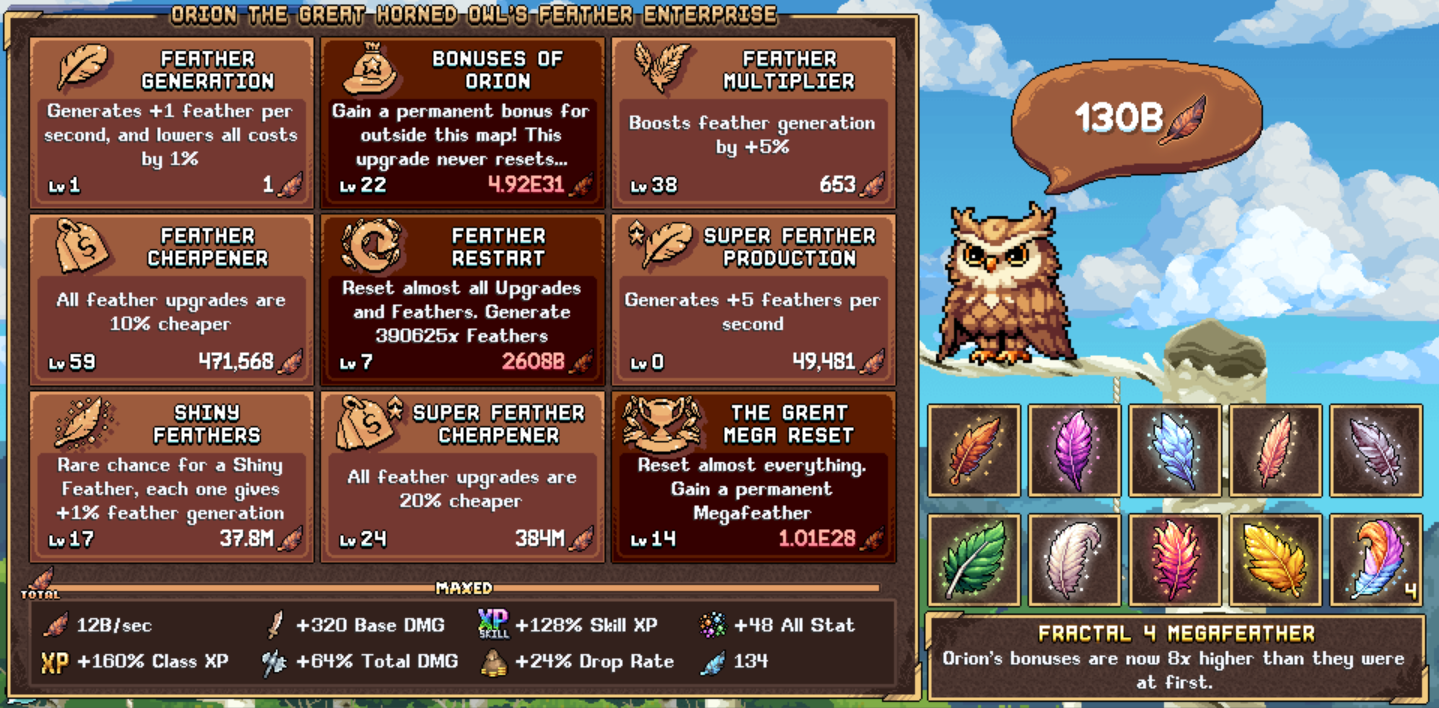
Orion Owl Mini-Game
The Orion Owl mini-game offers a super useful damage boost early game so it's well worth investing some time into this game.
You can unlock Orion by defeating 1,500 Bored Beans in Valley Of The Beans map.
Check out our Orion Owl Mini-Game Guide for more information.
World 1 Skills - Mining and Chopping
In World 1, you get access to two skills: Mining and Chopping. There are no requirements to start using these skills; if you see Ore, you can mine it, if you see a tree, you can chop it!
Every character in Idleon can level up all skills in the game. For each Level Up, you gain 1 Talent Point. Each skill has it's own Level Up system rewarding EXP for that skill by performing the skill.
Mining
Mining is likely the skill you come across first as it is part of the tutorial.
You can mine ore in the Blunder Hill Mines, which can be access from the left-most portal from the Town map.
Click on any of the Ore Deposits on the map to start mining ore. There are several stats that determine how many ores you can mine per hour:
- Mining Efficiency
- Mining Speed
- Multi-Ore Drop Chance
- Ore Value Per Drop
Ores are materials used for crafting new items at the Anvil.
You can smelt ores into bars by using the Forge. You will also need Crude Oil, which can be purchased from the Blunder Hills Town Shop.
As well as mining, you can also participate in the Ore Mining Mini-Game (5 times per day), which will reward you with ores.
As you Level Up your Mining Skill, you'll unlock the portals in the mines that allows you to go deeper and mine different types of ore like Iron and Gold.
By the time you start World 2, you should aim to be mining Iron and Gold Ores.
World 1 Mining Gear
The following gear will help increase your Mining Efficiency.
Item | Stats | Obtained | Notes |
---|---|---|---|
Copper Pickaxe | Speed: 3 Mining Power: 6 STR: +3 |
Anvil Tab 1 | Requires 10x Copper Bar |
Iron Pickaxe | Speed: 4 Mining Power: 10 STR: +5 AGI: +2 |
Anvil Tab 1 | Requires 70x Iron Bar, 150x Carrot Cube |
Dirty Coal Miner Baggy Soot Pants | STR: +7 Defence: 12 Misc: +5% Mining Effciency |
Anvil Tab 1 | Requires Torn Jeans x3, Iron Ore x200 |
Poopy Pickaxe | Speed: 2 Mining Power: 18 Defence: 3 Misc: +2% Mining Effciency |
Quest Item |
Chopping
You can start Chopping by finding intractable trees on various maps within Blunder Hills.
You can find an Oak Tree in the first map right of Blunder Hills (Spore Meadows). Select it and your character will start chopping down logs.
There are a variety of trees in Blunder Hills that drop different types of logs. Like mining, you'll need to increase your Chopping Efficiency in order to chop higher level trees.
The following stats determine how many logs you can obtain:
- Choppin Efficiency
- Choppin Speed
- Multi-Log Drop Chance
- Log Value Per Drop
World 1 Chopping Gear
The following gear will help increase your Choppin Efficiency.
Item | Stats | Obtained | Notes |
---|---|---|---|
Copper Chopper | Speed: 3 Choppin Power: 7 AGI: +1 WIS: +3 |
Anvil Tab 1 | Requires 25x Oak Logs, 5x Thread |
Iron Hatchet | Speed: 3 Choppin Power: 10 STR: +2 WIS: +5 |
Anvil Tab 1 | Requires 200x Jungle Logs, 100x Brick |
Bleached Designer Wode Patch Pants | AGI: +3 WIS: +7 Defence: 11 Misc: +5% Chop Effciency |
Anvil Tab 1 | Requires Torn Jeans x3, Plank x275, Bleach Logs x700 |
World 1 Party Dungeon
Party Dungeons allow players to group up together to tackle a mini-game and earn rewards that give bonuses like new equipment and stat boosts.
You can tackle the dungeon either solo or in a party, but you'll find it much easier in a party.
The Party Dungeon for World 1 can be accessed from Froggy Fields at the bottom of the map.
To access the party dungeon, first you'll need to talk to Toadstall and complete their quests of creating a party (open the Items Tab and click Create Party).
When you have three people, you can then access the party dungeon (after the first time you enter, you can then enter solo).
Inside all your stats and equipment are removed, instead you'll need to buy items from the shop inside the dungeon to boost your stats. The aim is to defeat the monsters, drop their items into the cauldron and summon the giant frog boss.
Defeating the boss and monsters will drop a special currency called Flurbos that allow you to upgrade your stats from the Dungeon Shop (different from the shop inside the dungeon!).
World 1 Colosseum
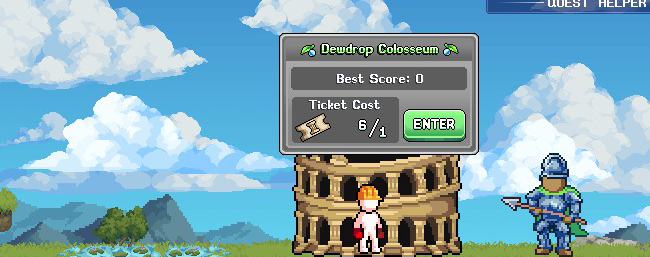
You can access the World 1 Colosseum by going to map 2 (Froggy Fields) and speaking to Typhoon at the top right.
He will ask you to slay some frogs that spawn and then give you 3 Tickets. From that point on, you'll get 1 Ticket per day by speaking to Typhoon. You'll need to click on them in your Inventory to consume the ticket.
You can then enter the Colosseum as many times as you have tickets.
The Colosseum works be summoning waves of monsters that you'll need to defeat within the time limit. The monsters get progressively stronger and ends with summoning the boss Baby Yaga.
Based on your score at the end of the game, you'll get Treasure Chests that when opened give a variety of materials, gems and coins.
World 1 Daily Quest
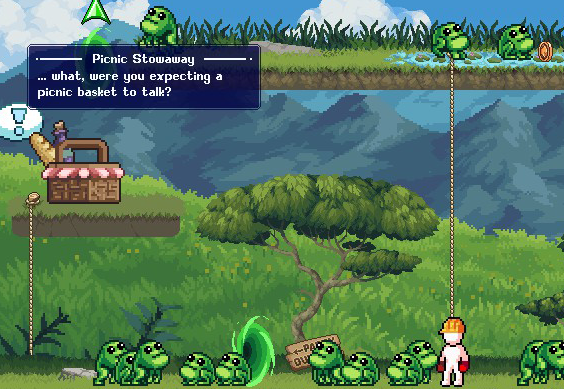
Each day you can participate in the Daily Quest for World 1 by talking to the Picnic Stowaway in Froggy Fields.
After completing the initial three quests, you'll then be given a quest line that resets each day. The quest line can give you Gems and Golden Food (that is never consumed).
You'll probably be too low level to complete the full quest line in the beginning so this area of W1 isn't super important to complete.
Discussion