
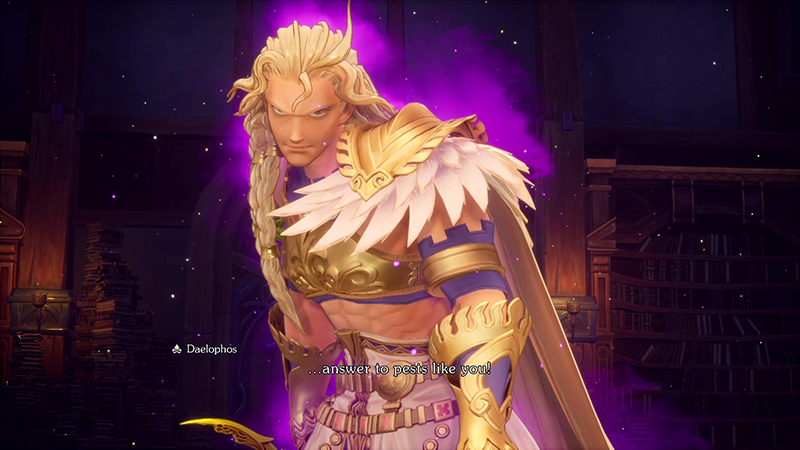
Chapter Five of Visions Of Mana will see us seek out the Alms of Light and Darkness, whilst also still having to content with Daelophos who is intent on destroying the world.
In the previous chapter we had to fight off Daelophos after Eoren awoken him by taking the Mana Sword. Now we head to Gudju once more to confront Daelophos.
- Gudju
- Boss Fight - Garethe, Benevodon of Earth
- Log'grattzo Dark Archives
- Passagean Tomespire
- Boss Fight - Zehnoa
- Boss Fight - Zable Fhar, Benevodon of Darkness
- Radiant Playhouse Terratio
- Temple Of Wendel
- Boss Fight - Frost Gigas
- Boss Fight - Selaphin, Benevodon of Light
You'll find more quests have appeared around the world at this point, including several in Zawhak Desert:
- Faster Than A Speeding Bulette (Reward: Lucre x4,420)
- Desert Defenses (Reward: Lucre x4,080)
- The Masterplan (Reward: Blessing Of Fire)
Gudju

When you return to Gudju, head to where Lyza's stone statue is to confront Daelophos.
Eoren unfortunately meets his end as Daelophos launches an attack, also destroying Lyza's Statue. Two Corestones appear.
Head back to Watts, who tells you that a Benevodon has awoken in the Zawhak Desert.
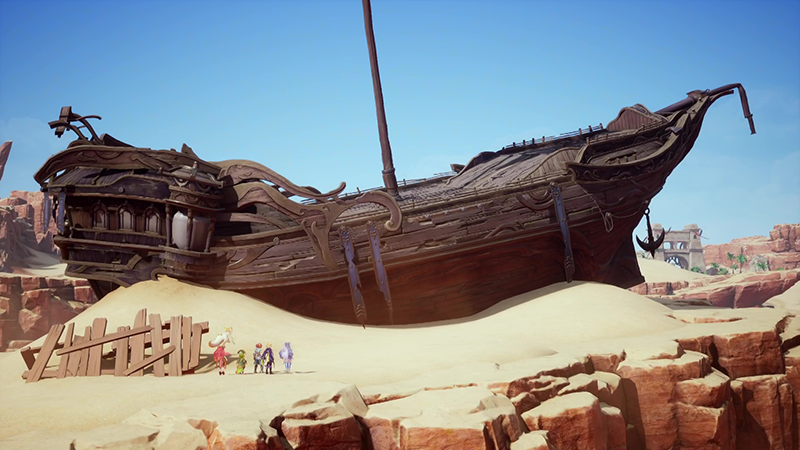
Head to the shipwreck in the middle of the Zawhack Desert and prepare for battle...
Boss Fight - Garethe, Benevodon of Earth
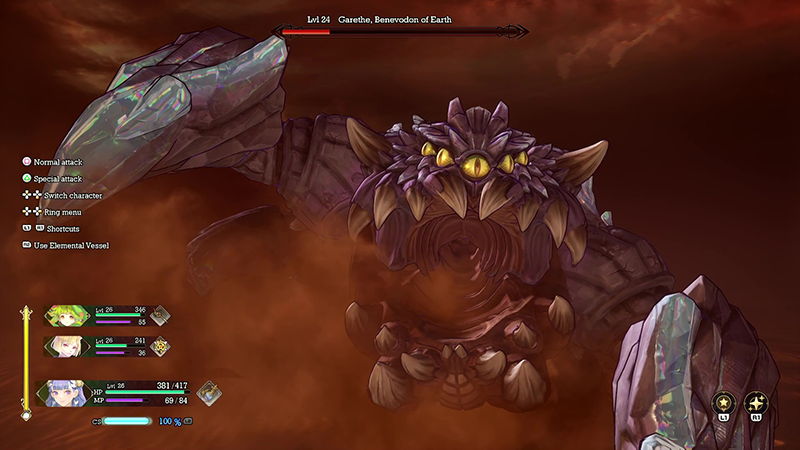
Level: 24
The first Benevodon you face is Garethe, and there are some mechanics you need to be aware of to win the fight.
Either side of the ship are two cannons; you need to use them to fire into the glowing eyes of the Benevodon when it surfaces from the desert. They have a 10 second charge, so when they're on cooldown, take care of the mobs.
During the fight, you'll also have to deal with fireballs raining down on you.
Towards the end of the fight, Garethe will appear in front of you charging a power move; you must shoot the cannon twice to avoid the blast.
Check out the video below:
Rewards:
- Lucre x5,000
- 14,850 EXP
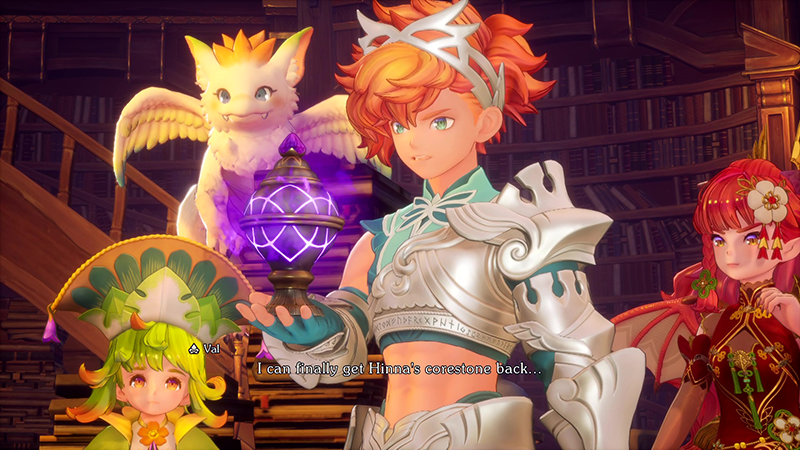
After the fight you'll pick up the Lumina Lantern, which will unlock all the Light Elemental Classes!
Palamena mentions that you can find more about the Log'grattzo Dark Archives. You'll need to travel via Vuscav to access the island
Log'grattzo Dark Archives
At the Log'grattzo Dark Archives you can find an replenished stock of Dudbear items and some new equipment available from the armor and weapon stores.
You can also pick up the following side quest:
- Feelings Bottled Up 3 (Reward: Lucre x4,860, Honey Elixir x4)
Head inside the Archives once you're ready.
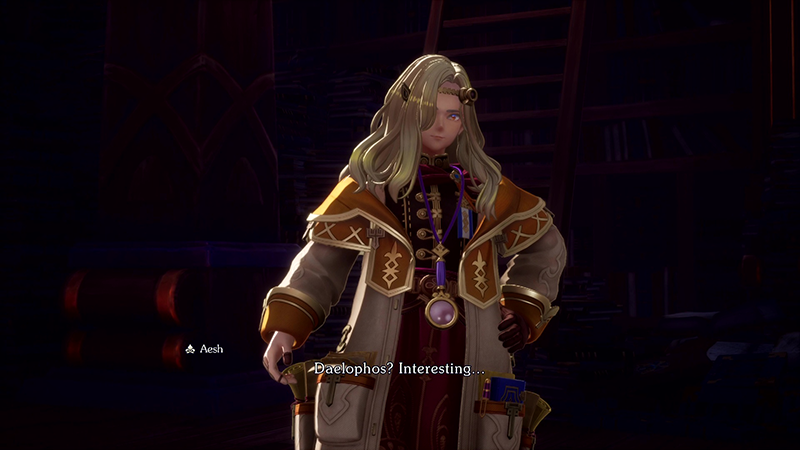
Aesh will tell you about a Benevodon sealed away in the tower of Log'grattzo. He will also say you can set a trap for Daelophos by obtaining a special book inside the tower.
Don't forget to pick up the Chalice of Heirdon from the Treasure Chest inside this room to expand Palamena's ability slots.
If you head back outside, Aesh gets distracted and tells you of a building that needs fixing.
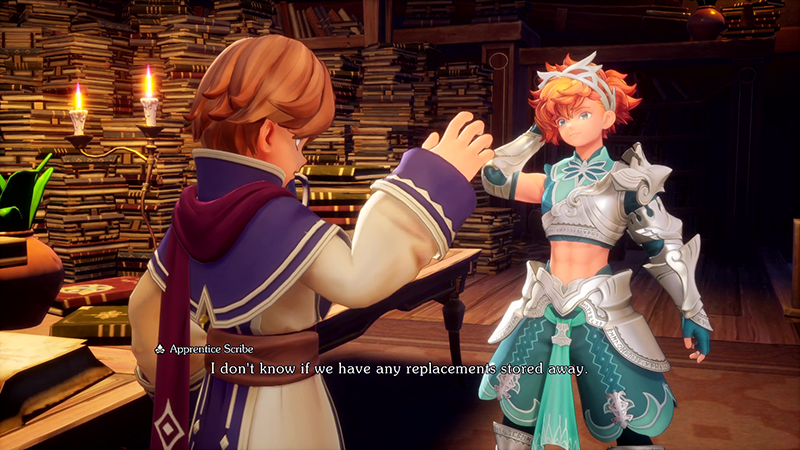
Head back inside the Archives and speak to the Apprentice Scribe. Then head down the stairs in the room and pick out the Fork.
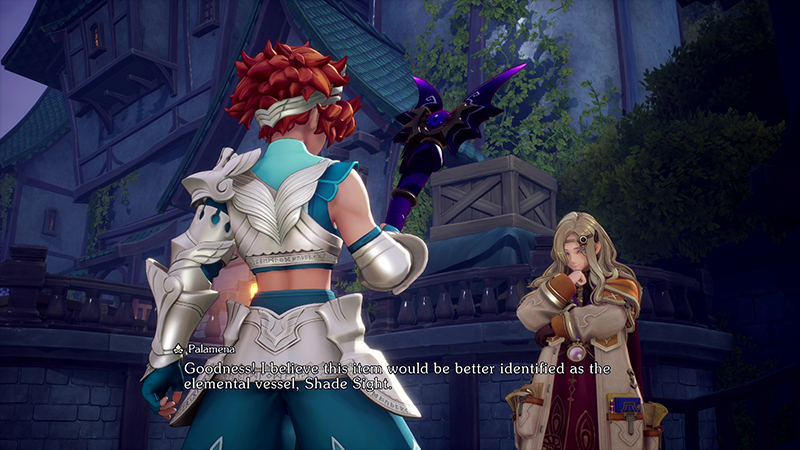
Return back to Aesh to fix the building. In return, you'll be given Shade Spire, the next Elemental Vessel!
Now you can head to the Tomespire to find the hidden tome that will help you with Daelophos.
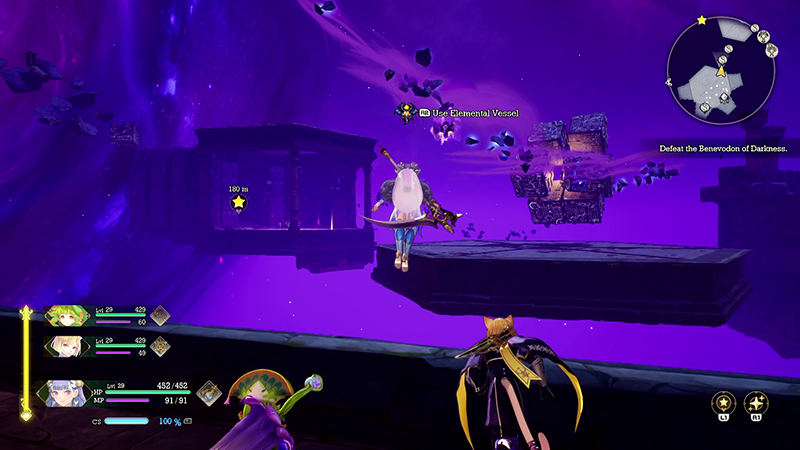
Passagean Tomespire
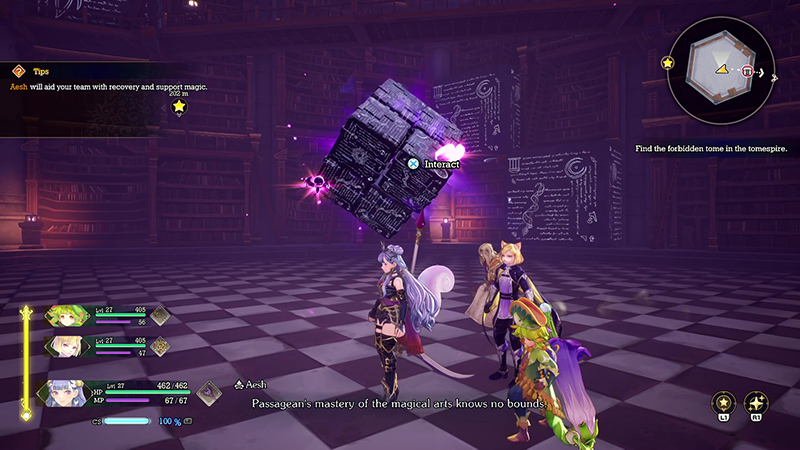
Inside the Passagean Tomespire, you can use the Elemental Vessel to open cubes up that will teleport you to another level. You can also use it to swing up to other structures in the rooms.
Make your way through the level; it's quite linear with several clusters of mobs along the way.
When you get to the Save Point on Level 3, get ready for a fight!
Boss Fight - Zehnoa
Level: 26
Zehnoa has several mechanics which can cause this battle to get away from you if you're not careful.
He will start off summoning three Copper Knight mobs and then sending spikes up through the tiled floor. You'll have about 2 seconds to dodge these so be careful.
When the entire ground glows red, four cubes will appear and start rising quickly. You need to jump onto one to avoid damage.
The room will then rotate, and you need to keep jumping on top of your cube as it rotates. If you're on the floor by the time finishes rotating, you'll be hit.
You can use the rotating room time to heal up if you have healing abilities.
When the room rotation ends, start dealing as much damage as possible. Zehnoa will shoot out flame bursts and fireballs, so be careful.
Zehnoa is weak to water and you can deal lots of damage really quickly with the Water Elemental Vessel.
Check out the video below:
Rewards:
- Lucre x2,900
- 16,950 EXP
After the fight, Aesh finds the book needed to help defeat Daelophos.
You're going to have to find three ingredients first, however.
The Chicken Egg can be found in the center of town.
The frog can be found on the side path need Passagean Tomespire.
And the fur of a chatty cat can be gotten by talking to the Merchant Siblings.
Return to ingredients to Von Boyage at the lower level of the Archives. He will give you the Corepedo.
Now head to Aesh and Daelophos will turn up and get hit by the Corepedo thanks to Aesh.
Now you make a return to the Passagean Tomespire to fight the Benevodon! When you come to the third level, you'll need to configure a giant cube.
It's easy enough- just jump on both platforms either side of it, wipe out the mobs and interact with the small cubes.
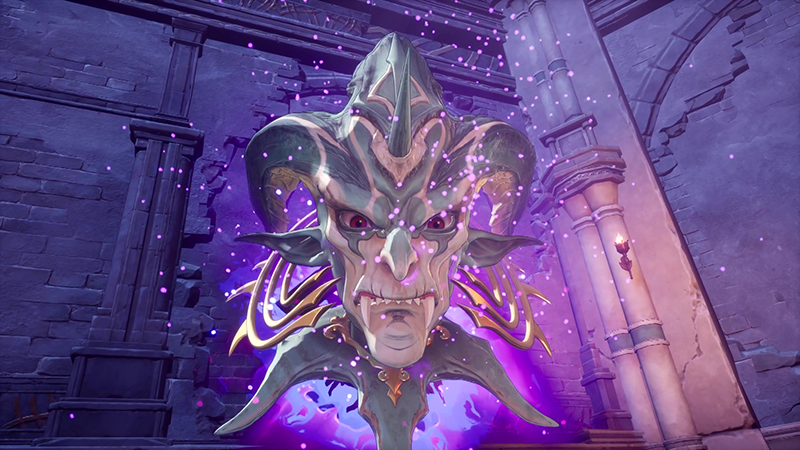
Boss Fight - Zable Fhar, Benevodon of Darkness
Level: 28
The fight starts off with two heads that remain stationary. They're both fairly easy to kill off. They will fire out plumes of darkness every now and then. Defeat both of them, and then the real boss will spawn.
The two heads regenerate and a third head in the middle spawns. Together, they will try to spawn a dark void which mobs will spawn. You can interrupt this by attacking the darkness orbs being used to summon it.
The main attack to watch out for is a giant orb that spawns into the middle of the room and sucks you into it. It's easy to avoid by staying on the outskirts of the arena.
If you get hit by the darkness plume attacks, you can also get Silenced. So equip the Null Silence seed if you have it.
Focus on taking out the two side heads first, and then you can have a free run at the main head. They will respawn after a while, so just repeat the process.
Check out the video below:
Rewards:
- Lucre 6,400
- 19,200 EXP
After the fight, Aesh is named Alm of Darkness.
Palamena recalls the name Cerulia being used in a play at a location called The Radiant Playhouse Terratio. That's our next destination!
A new side quest becomes available:
- A Slashing and a Curse (Reward: Blade and Shield Sigil (seed))
- Fear In An Ivory Tower (Reward: Lucre x6,480)
Radiant Playhouse Terratio
When you arrive at Raidant Playhouse Terratio, there seems to be an issue with the actors who are to perform the play about Daelophos and Cerulia.
Here you can pick up the following side quest:
- Save Me Hide! (Reward: Lucre x6,400, Spirit Serum)
You can also pick up some new equipment from the item stores here.
Head up to the main house and it turns out all the actors cannot remember their lines.
You'll then be tasked with using the Lumina Lantern to help the actors remember.
Aesh will turn up and points you in the direction of the Temple of Wendel. You'll find an actor who is struggling along your path.
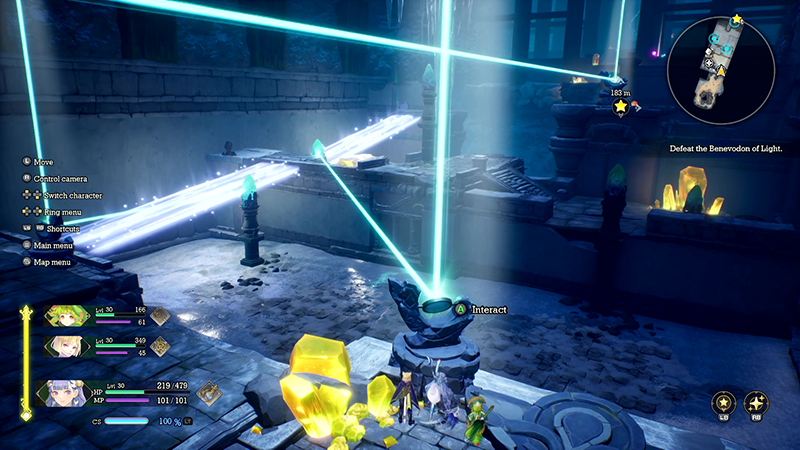
Temple Of Wendel
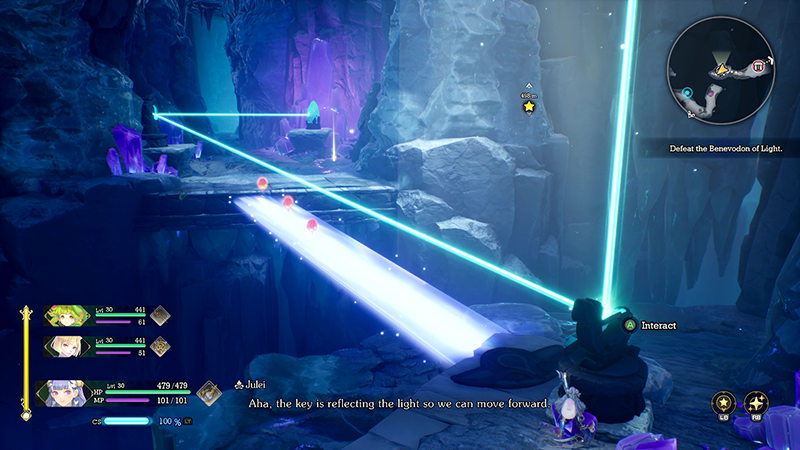
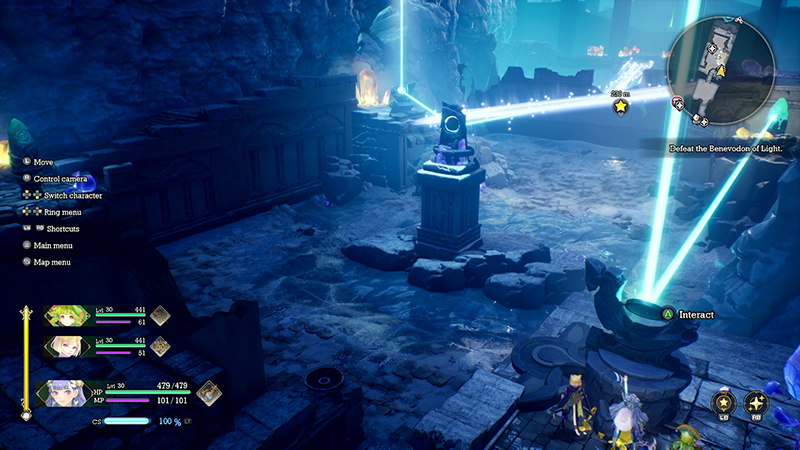
Inside the Temple Of Wendel, you'll find a few puzzles to solve which require moving mirrors so that beams of light reveal hidden pathways.
It's a good idea to equip the Fire Elemental Vessel here as most of the enemies are weak to fire!
In the first area, tilt the mirror so that it reveals a bridge going across to the next area.
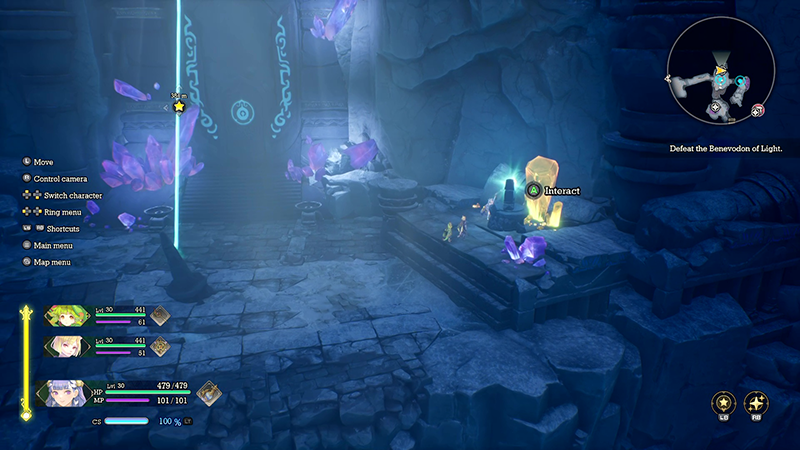
In the next area, activate the light and it will teleport you forwards. Then adjust the mirror near the door so that it faces it. Then use the light nearby so that it hits the mirror, then the door to reveal the pathway.
In the next area, run across the already illuminated bridge and tilt the light so that it hits the center mirror. Then return to the already illuminate bridge and move the mirror so that it points towards the north crystal.
Jump down onto the floor and climb up the left hand side to cross the bridge. Head further up and use the light to teleport you to the next level.
Run further along past the Elementite and use the next light to teleport you again.
In the next area, start by moving both mirrors so that the left-hand side bridges are all illuminated. Use this to pick up the Treasure Chest.

Now do the opposite and move both lights so that they shine on the right hand side.
Cross the bridge and use the light to illuminate the bridge in the center.
Boss Fight - Frost Gigas
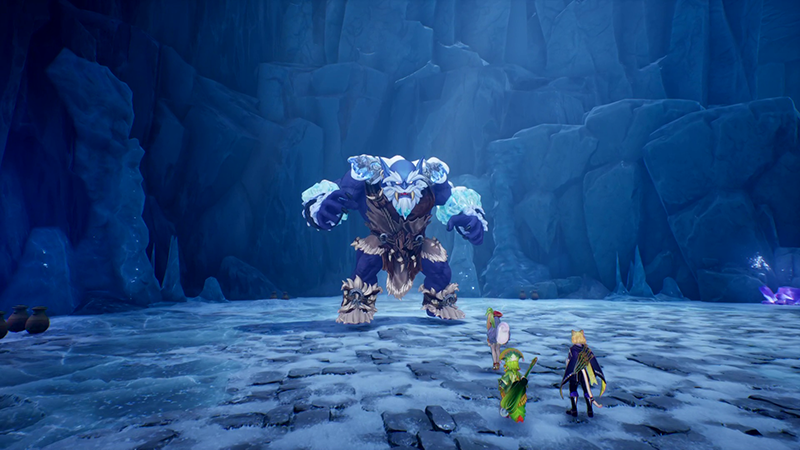
Level: 29
A warm up fight before the Benevodon! Frost Gigas is weak to fire so make sure you've got the Fire Elemental Vessel equipped.
Be careful of getting too close to him; he will summon ice shards that falls and if you get caught you'll freeze!
He will do a three-hit swipe attack and can also teleport-stomp on to you. When it's HP gets low, he'll start shooting out blizzard beams and launching snowballs at you.
Check out the video below:
Rewards:
- Lucre x3,400
- 20,100 EXP
After the fight, head further up to find a light source and teleport yourself forward.
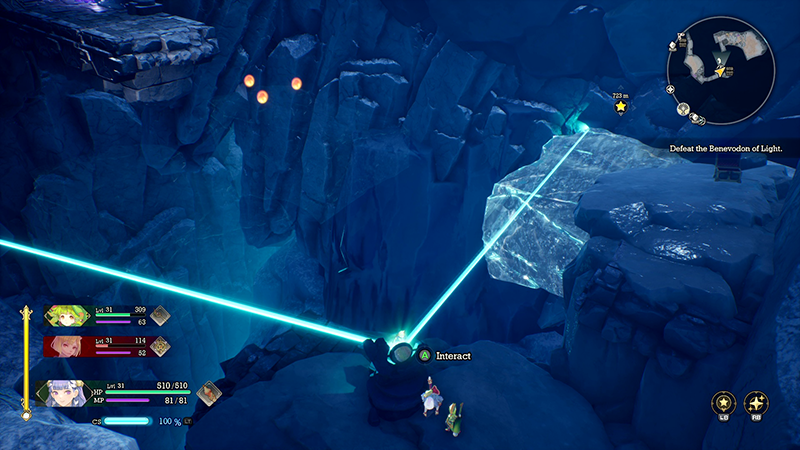
You'll come to an area with a light source that illuminates three blocks of ice. Use it to illuminate the block near the edge, then climb up on it and jump across (using the invisible block of ice).
Head up further and you'll come across the next Benevodon.
Boss Fight - Selaphin, Benevodon of Light

Level: 31
Hopefully you're all kitted out with Fire abilities and attacks, as this will make the fight go a lot quicker!
Selaphin starts the fight shooting projectiles at you, which slowly track you around. Easy enough to dodge though. She'll then shoot out a plume of ice, which can freeze.
Her other moves consist of bringing up Ice Spikes and teleporting.
At less than 30% HP, her main attack is a giant ice blizzard which covers 80% of the arena, freezing anyone who touches it. Her Ice Spikes range will also get bigger.
Focus on range fire attacks to deal as much critical damage as possible; equip any Freeze Null abilities you have too.
Stick to the edge during the blizzard storm and the fight should be won!
Check out the video for more tips:
Rewards:
- Lucre x7,600
- 22,500 EXP
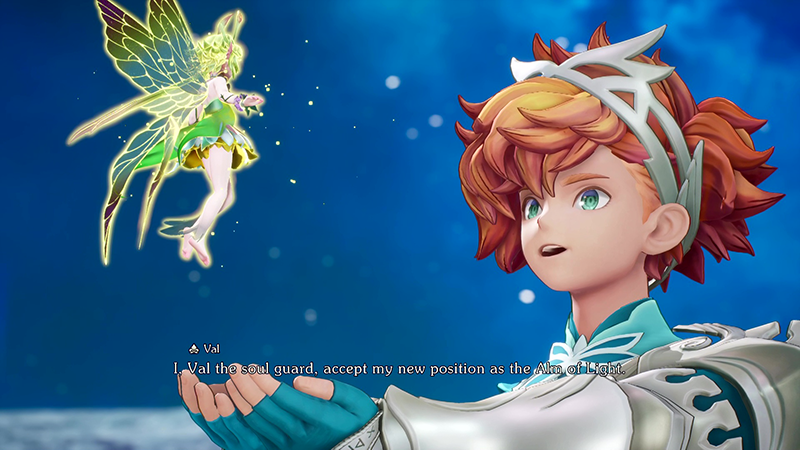
After the fight, Val becomes the Alm of Light!
And that wraps up Chapter Five of the Visions Of Mana Walkthrough!

Discussion