Chapter Four of Visions Of Mana sees Val head towards the Mana Tree whilst attempting to get Hinna's Corestone back from Eoren.
In the previous chapter, Eoren deceived both Val and Hinna, turning Hinna into a Corestone that he plans to use to rescue Lyza.
- Ahrvet's Pasture
- Dura Gorge
- Boss Fight - Du'Inke
- Deade Cliffs
- Khaswia Moors
- Free City Of Tsaata
- Tatoh Temple
- Boss Fight - Vuscavalanche
- Zawhak Desert
- Gudju
- Gamurda Mines
- Boss Fight - Jewel Eater
- Mylos Woods
- Verdeus Borough
- Boss Fight - Grapplavine
- Mylos Woods
- Sanctuary Entrance
- Boss Fight - Daelophos
Chapter Four is a huge chapter, with many different areas and bosses you'll come across. Let's dive in!
Before you leave Illystana, you can now spend your Niccolo Coins at Niccolo's Emporium. There are some useful abilities here that can raise your damage for the upcoming boss battles.
Ahrvet's Pasture
We need to travel through a few places in order to get to the Deade Cliffs, Ahrvet's Pasture being one of them!
You can find the following useful items on this map:
- Reaper Tracks (weapon)
Make your way to the east to find Dura Gorge.
Dura Gorge
Dura Gorge has two floor levels to it. You start at level 1 and can make your way up using the Elemental Vessel.
Here you can pick up the Chalice of Hope (treasure chest), which will expand the amount of abilities Val can equip at once!
You can also pick up:
- Obsidian Katana (Morley)
As you make your way through the Dura Gorge, you'll come across Du'Inke.
Tip: Pop a Mythic Cookie to increase your EXP and a Opulent Incense to increase your Lucre rewards before the boss fight!
Boss Fight - Du'Inke
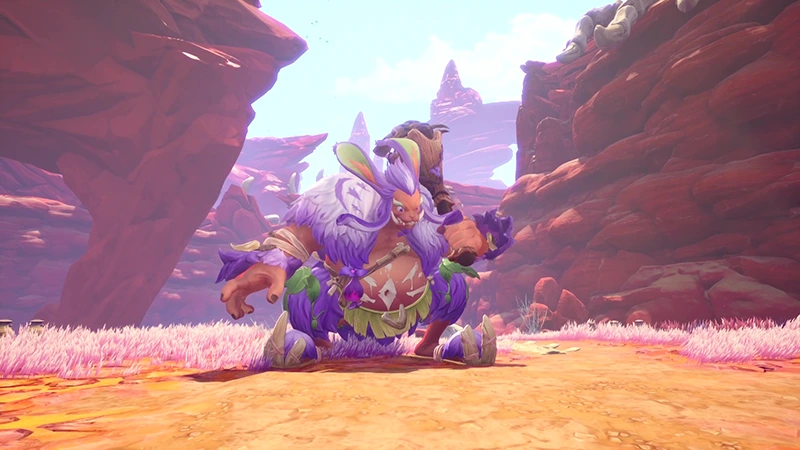
Level: 15
You will want to watch out for Du'Inke's giant club, which has a surprisingly long reach. He can also jump backwards and anyone standing in his area of effect will be hurt.
He will also shoot out darkness projectiles, but they are easy to dodge if you watch for the floor markings.
Focus on hitting the head to deal the most damage.
Watch out for when he fires rocks at you; getting hit will stun you and can leave you vulnerable for more attacks.
His most dangerous move has to be his wild frenzy swing attack; he will strike three or four times in a row and can easily wipe you out if you get caught up in it.
Since you no longer have Hinna for free heals, you can either use Items or Healing Light seed.
Check out the video for more tips:
Rewards:
- Lucre x1,300
- EXP: 9,150
- Wind Oracle Tonic
The Wind Oracle Tonic that you get from defeating Du'Inke will expand Careena's Elemental Plot!
Deade Cliffs
You'll have arrived at your destination: Deade Cliffs.
You can find a Lil Cactus to the north of Deade Cliffs.
When you arrive at the camp, you'll be greeted by Overseer Molebe. However, as you go to plant the Jaque Seed, there appears to be a problem with the ground.
Overseer Molebe tells you to go seek out Gnome, and borrow the powers of Earth to allow the seed to grow. This will mean your next destination is Gudju!
Make sure you to check out both the Weapon Shop and Armor Shop for new equipment as they most likely have an upgrade available for you here.

You'll be teleported back to Ahrvet's Pasture but can now access the north path that leads you to Entwine Bridgepass.
The Entwine Bridgepass is just a straight path with a few items along the way. When you get to the end, you'll reach Khaswia Moors.
Khaswia Moors
You can find the following useful items here:
- Princess Heels (weapon)
- Summon Rabite (seed)
- Phantom Blade (seed)
- Bone Armor (Val)
You can also pick up the following Side Quest:
- No Taste Like Home (Reward: Throwing Knife (seed))
Head to the Free City of Tsaata to try and figure out how you can hitch a ride to Gudju.
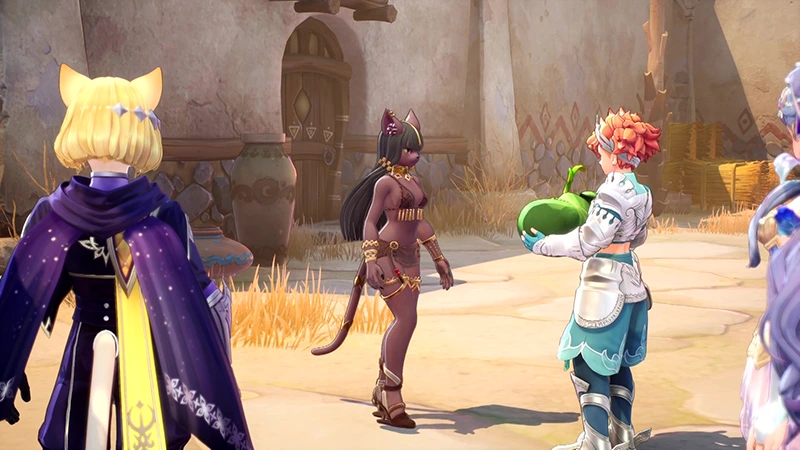
Free City Of Tsaata
Make sure you pick up the following items here:
- Intellect Sigil + (seed)
- Blade and Scepter Sigil (seed)
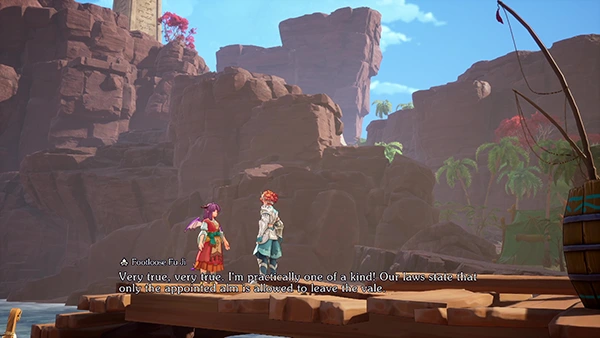
When you arrive in Tsaata, head to the pier to speak to Footloose Fu Ji about getting across the sea to Gudju. She tells you that the sea is current unpassable.

Palamena falls ill and ends up seeing a giant wave with a strange woman calling to her. They mention that the lament comes from a poem in Tatoh Temple, which is where we are headed next!
Also, Dudbear has several new items available to buy:
- Intellect Serum
- Luck Serum
There are also the following side quests in this area:
- Memory of a Fish (Rewards: Lucre x3,360)
- Natural Quillosophy (Rewards: Lucre x3,640)
- Calm before the Storm (Rewards: Peacebringer (seed))
Dweller Glyff gives you the Salamando Candle to unlock several new classes for everyone!
Tatoh Temple
You can access Tatoh Temple from Khaswia Moors.
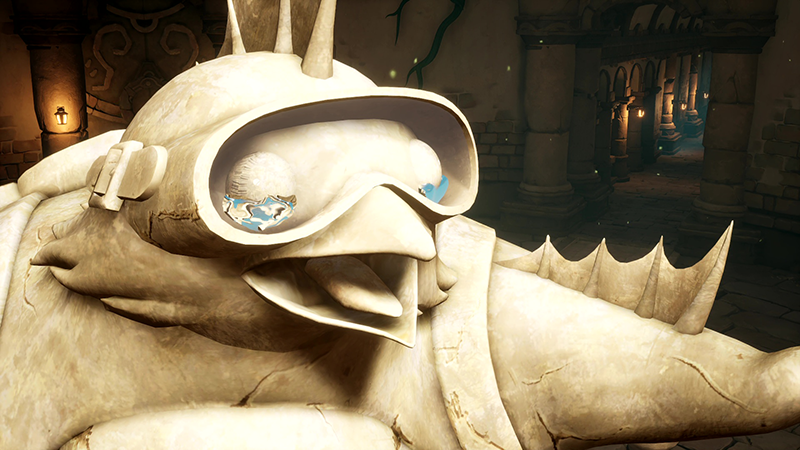
Inside, you'll find a giant stone turtle. You'll need to follow the map prompts to find the different pieces of the poem.

Each piece of the poem you find is preceded by several rounds of mobs to fight. Once you find them all, head to the center and prepare for a fight!
Boss Fight - Vuscavalanche
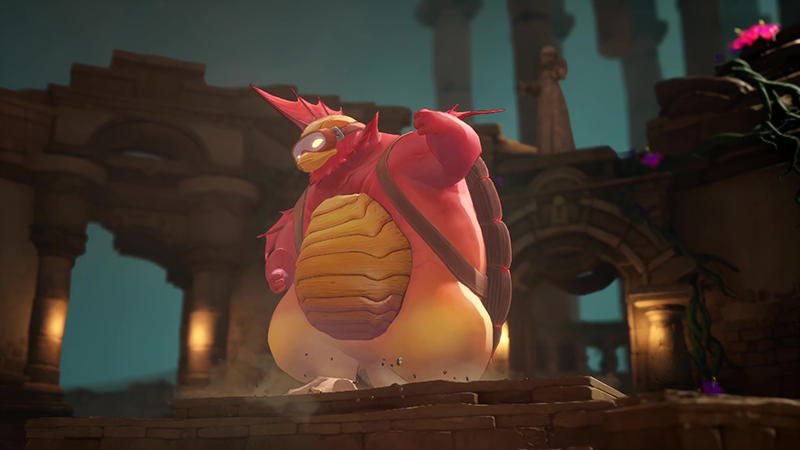
Level: 18
This boss isn't really that difficult- and the fight isn't really against the giant red turtle either.
The boss will summon several rounds of mobs and each time you defeat them, a chunk of HP is taken off Vuscav.
Whilst you fight the mobs, fireballs will rain down on you. If you get hit too much, use the Health pots around the arena.
You should save your Class Strike for when the mobs just spawn so you can deal the most damage to them.
Check out the video for more tips:
Rewards:
- Water Queen Tonic
After the fight, head to the beach and you'll now be able to use Vuscav to travel between continents! Use the flute to summon him near water.
Zawhak Desert
The Zawhak Desert is another huge map to explore! Plenty of Treasure Chests and Elementites to discover here.
These items are worth picking up:
- Triumphant (seed) (treasure chest)
- Wrath of Wind (Elementite Aeries)
- Gust Pelisse (armor) (treasure chest)
- Silverine Happi Coat (armor) (treasure chest)
Head towards the Village of Gudju to continue the story.
Gudju
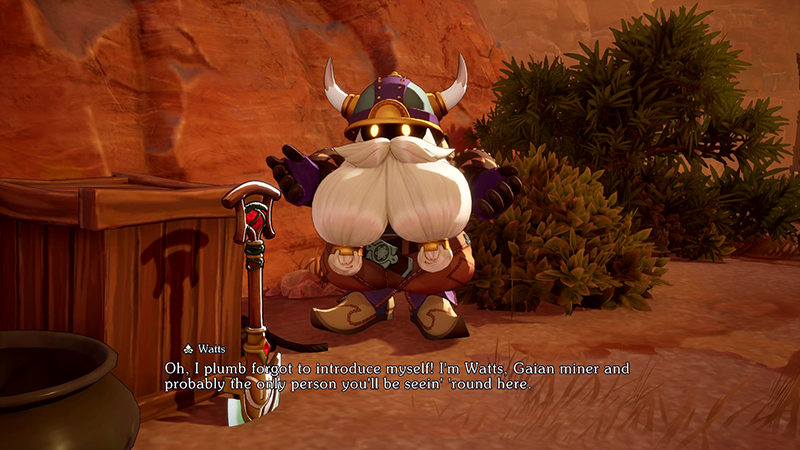
You've arrived at the place where it all started: Gudju, the Earth Village. The place is now desolate but there is one miner still here: Watts.
He tells you to go and see for yourself what happened to Lyza.
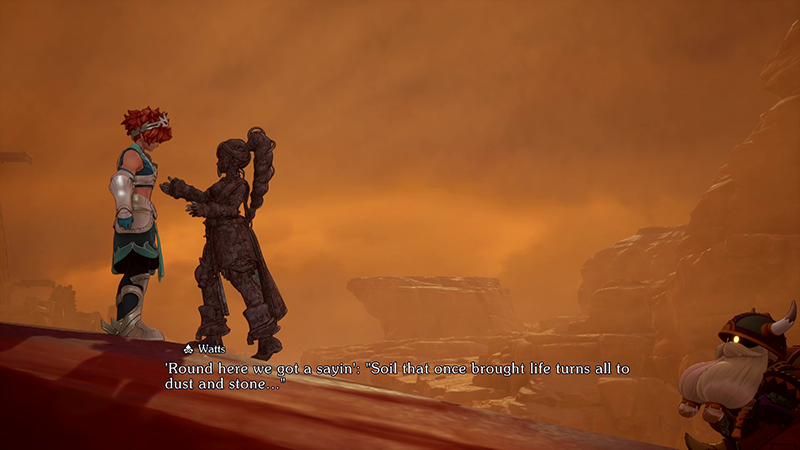
When you arrive at Lyza's resting spot, Watts tells you that you can find Gnome in the Gamurda Mines.
He also gives you the Gnome Shovel, allowing you to access more Elemental Classes.
You can access the Gamurda Mines from the Zawhak Desert to the west.
Before you leave Gudju, you can pick up some new Armor equipment from the item shops (the weapon shop is still the same items as Tsaata).
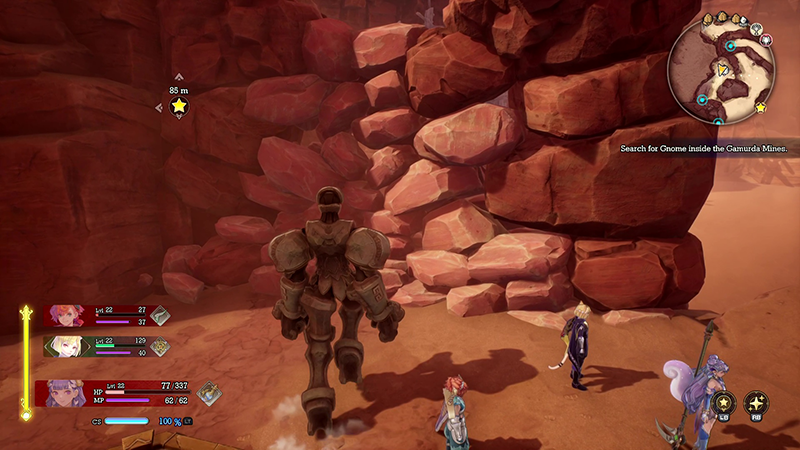
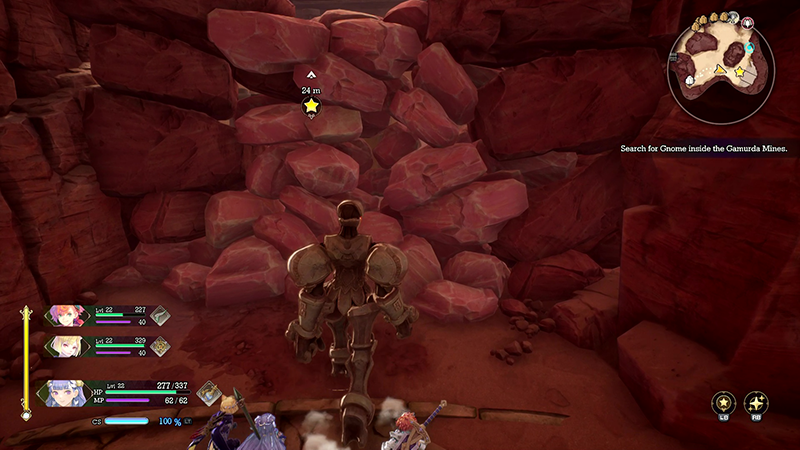
Gamurda Mines
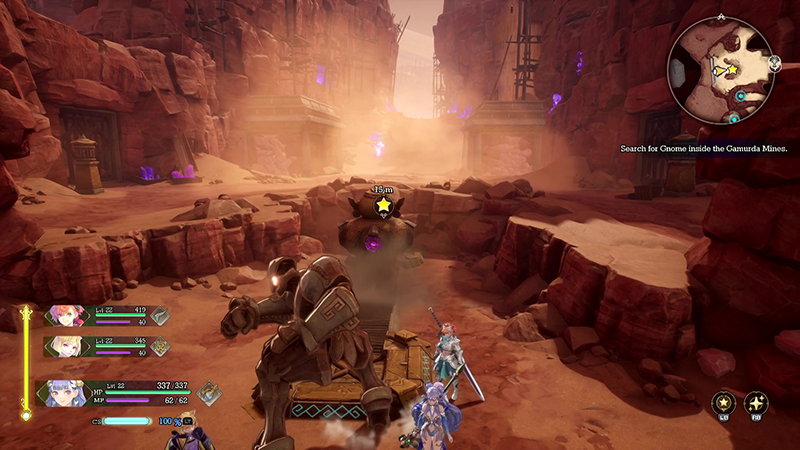
In the Gamurda Mines you can activate Stone Golems and use them to break down walls, structures and move stone podiums.
You can unlock the gate on the left by hitting the podium in the middle forward with the Stone Golem.
Stone Golems cannot jump, so head into the left gate and you'll be able to activate a Stone Golem inside. Use it to smash down some structures to clear the opening.
In the next area, defeat the mobs and you'll find more structures blocking your path. Smash them down with the next golem.
You'll find another stone podium; hit it and it will activate the next gateway on the right of where you initially entered. Head back there.
Inside the right side, you'll come across a group of mobs. Move to the next area to find a Stone Golem and smash the rock wall on your left and pick up the Eloquence from the Treasure Chest. Dismount the Golem and head into the pit to fight the mobs.
Use the Golem to smash the stone wall and then use the Golem to move the stone Podium into place. This will activate the bridge in the main area, allowing you to access the tower.
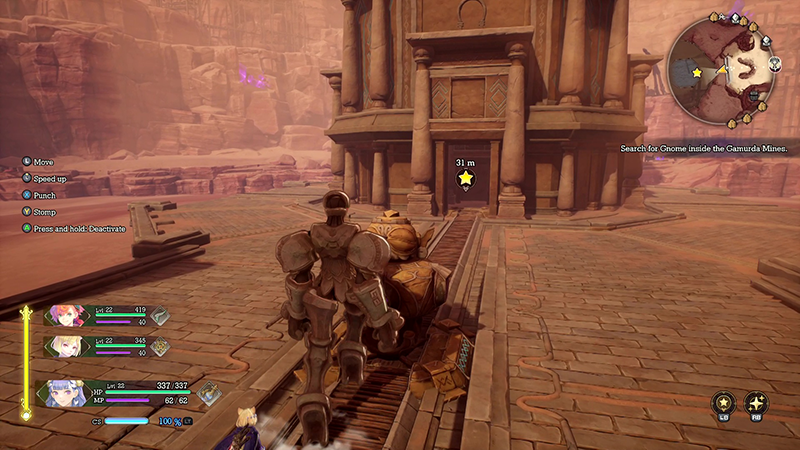
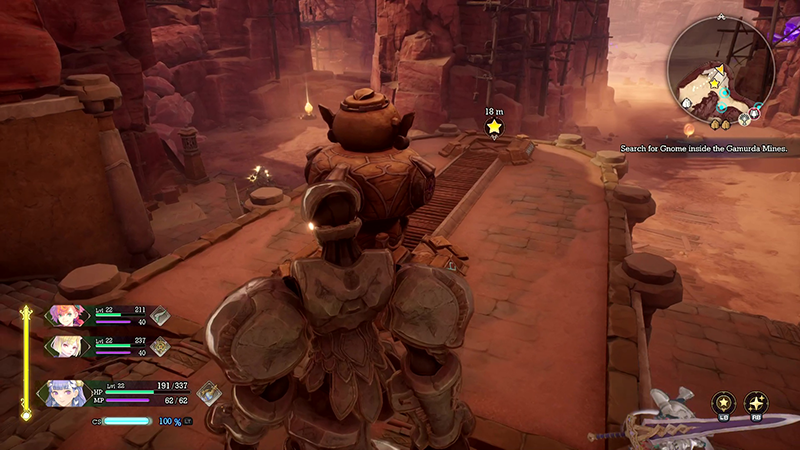
Head back to the main area and to the center tower. Hit the first podium using the stone golem and you'll go down a level.
You'll need to activate all four sides of it by hitting the stone podiums into the doorways. Hit the north stone podium into the tower.
You'll now be able to access the south area; head there and wipe out the mobs. Activate the stone Golem and hit the podium into the tower.
Head to the east area and wipe out the mobs. Activate the stone golem and smash the stone wall to reveal the stone podium. Then hit it along the track and into the tower.
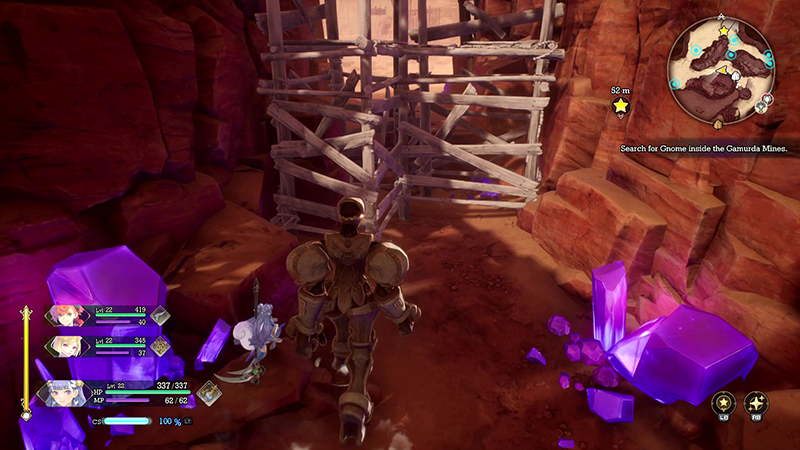
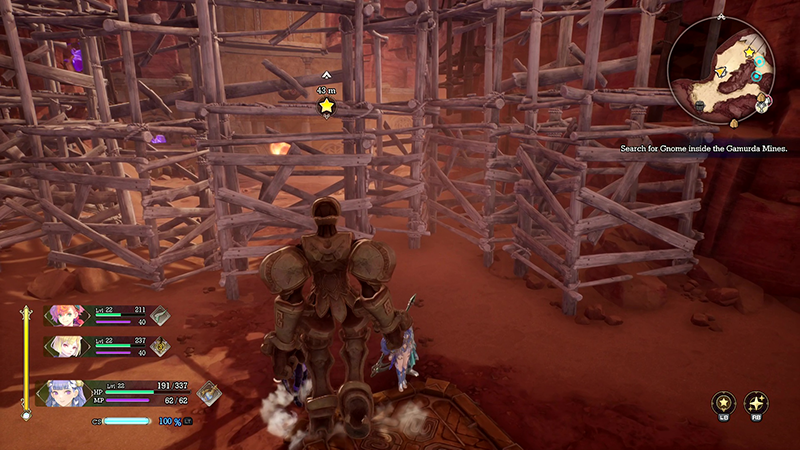
Now head to the west area. The stone podium is hiding behind some wooden structures. Hit it into the tower.
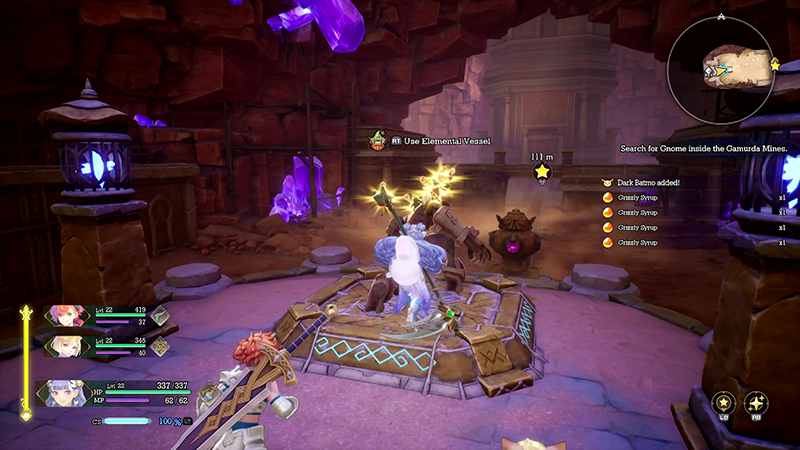
You can now enter the tower!
Tip: Pop a Mythic Cookie to increase your EXP and a Opulent Incense to increase your Lucre rewards before the boss fight!
Boss Fight - Jewel Eater
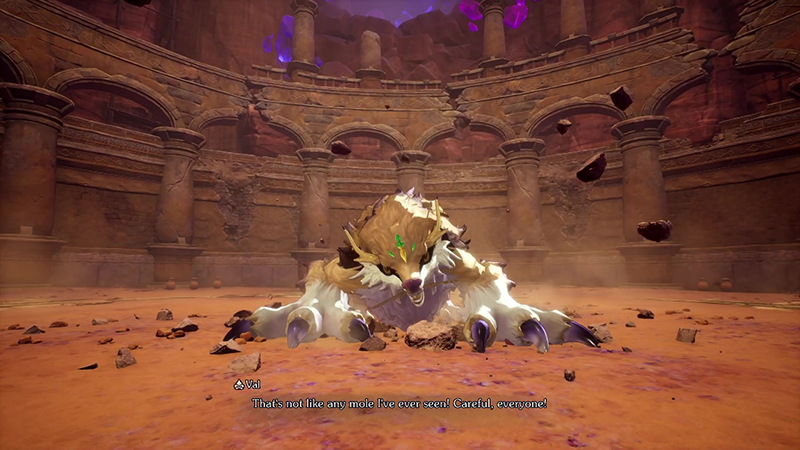
Level: 21
The Jewel Eater is weak to water attacks, so make sure at least one member of your party is running the Water Elemental.
The Jewel Eater will cover the ground in falling boulders, indicated by the red circles that appear on the ground.
Heal items will also appear around the arena; you should consume them to prevent the Jewel Eater from eating them and healing himself.
The Jewel Eater will also charge across the arena four or five times in a row; during this phase you'll want to keep running out of the way.
Most likely your party members will die in this fight as they're too stupid to get out of the way of his attacks. But don't worry- as long as you keep consuming the free heals that spawn the fight is quite easy!
Rewards:
- Lucre x2100
- 12,150 EXP
After the fight, the Gnome Elemental will appear and lend you the power to now use the Jaque Seed!
Return to the Deade Cliffs using Vuscav. Here the seed will grow into a giant vine, allowing you to now access Mylos Woods.
Mylos Woods
In the Mylos Woods, you'll find several cluster of mobs you need to take out. Doing so removes the strange plants and allows you to progress towards the Verdeus Borough.
Don't forget to pick up the Chalice of Tomorrow to expand Morley's ability slots.
Verdeus Borough
Inside the Verdeus Borough you'll come across a strange character named Julei.
Follow Julei around the borough to understand his story. At some point the Merchant Siblings will turn up allowing you to buy new equipment and armor (worth a look!).
Tip: Pop a Mythic Cookie to increase your EXP and a Opulent Incense to increase your Lucre rewards before the boss fight!
Boss Fight - Grapplavine
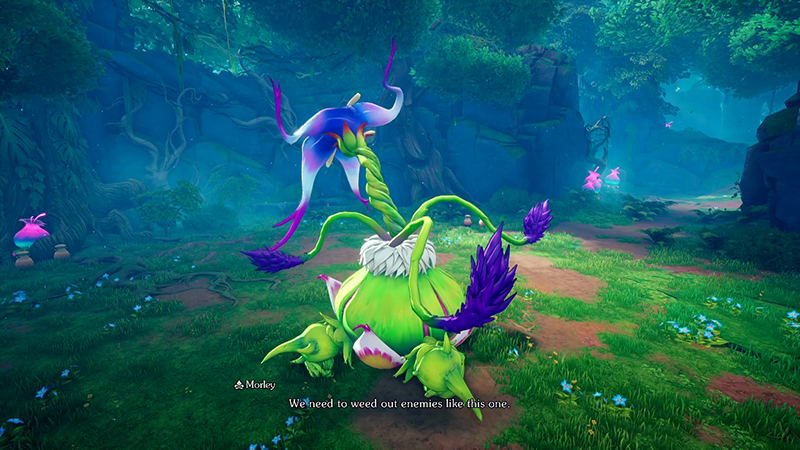
Level: 22
The Grapplavine will spawn flowers around him that will poison the area. Focus on taking them out to prevent the battle becoming overwhelming.
The main Grapplavine will shoot out poison all around the arena, so if you have any seeds to help prevent the poison status effect, equip them.
The Grapplavine is also weak to fire elemental, so have the fire class in your party. Val can imbue your weapon with fire.
Once it's HP goes to 50%, it will start to move around the arena. It has a big jump attack and several swing attacks with it's neck that can deal damage.
Rewards:
- Lucre x2,200
- 13,050 EXP
- Wood Sprite Tonic.
After the fight Julei becomes the Alm Of Wood and joins your party!
You'll also get the Dryad Sprig, giving you access to more Elemental Classes.
Mylos Woods
You'll return to the second part of the Mylos Woods. This area has lots of branches that you'll need to navigate by activating the elemental vessel.
Pick up the following items:
- Chalice of Change (Julei)
- Change Form (seed)
Make your way to the Sanctuary Entrance.
Sanctuary Entrance
Follow the path up and prepare for a fight!
Boss Fight - Daelophos

Level: 24
Daelophos will be your biggest test yet and this fight is made a lot easier if you have lots of HP! So equip any HP boosting seeds and use any of those Dudbear boosting stats. Palamena has little HP (which we used for this fight) so be careful.
Julei can act as your healer for this fight and can help keep you alive for longer.
Daelophos is most dangerous when he chains his sword attacks; getting hit three times in a row can lead to instant death which is why HP is so important.
At some point, Daelophos will charge and slash attack five times in a row. In this phase, just try to dash out of the way instead of attacking until he calms down.
You only have to get Daelophos down to 50% HP to win the fight.
And that wraps up the end of Chapter Four for the Visions Of Mana walkthrough! It was quite long but hopefully this guide has helped you.
Let us know in the comments if we missed anything!

Discussion