This is the beginning of our Visions Of Mana Walkthrough, starting at Chapter One of the game. Chapter One will see you start at Tianeea, the Fire Village, which introduces you to the main character Zal.
- Lyza's Escape
- Boss Fight - Gardlegrog
- Tianeea, the Fire Village
- Charred Passage
- Aery Passage
- Longren - Vale Of Wind
- Mt. Gala
- Boss Fight - Mantis Ant
- Lefeya Drifts
- Etaern
- Rime Falls
- Fallow Steppe
- Rhata Harbor
- Boss Fight - Kraken
Before you dive into this guide, there's a few things to note.
We've included interactive maps for each section of the walkthrough; these maps will label Treasure Chests, Floor Items, Quests and more. We'll make a note in each guide of some of the more important items to pick up on your way.
There are a lot of cutscenes in Visions Of Mana, and that can really bulk out the guide! So we'll try to summarize these parts of the guide so we can get to the good stuff, like boss fights and puzzle solutions.
If you want to see more Visions Of Mana guides, check out the Visions Of Mana Wiki page.
Lyza's Escape
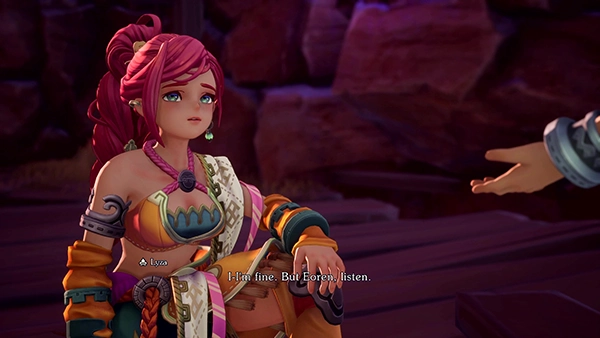
You will start Visions Of Mana in the village of Gudju, where Lyza and her friend Eoren are attempting to flee.
The path forward is quite linear, and there are several small skirmishes with the villages that you'll have to fight. If you need tips of Visions Of Mana Battle System, check out our guide.
This part of the game introduces you to several mechanics; the golden star will tell you the area you need to go to next in order to progress the main story. You'll also be introduced to several mechanics like double jump and dash.
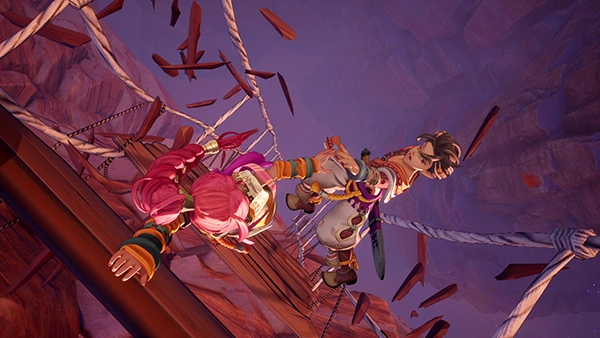
You'll come to a cutscene where the bridge breaks and Eoren and Lyza are able to scramble up the otherside. You'll then enter your first boss fight...
Boss Fight - Gardlegrog

The fight begins facing off against four Gudju soldiers. It's easy work- so dispatch of them using your special attack moves.
Once you defeat them, the villages will turn into Clay Gorgs. These guys are a bit tougher- but slow. They can throw rocks at you, but with Lyza healing, this part of the fight should still be quite easy.
The real boss appears once you take out all the Clay Gorgs.
Gardlegrog is a bigger version of the Clay Gorgs but it has a weakness- if you hit the Gardlegrog's Head and Chest areas, you'll be able to "fracture" the boss. These are known as "weak spots" and will allow you to deal critical hits once fractured.
The best tactic for this fight is to position yourself behind the Gardlegrog so that you avoid it's fire laser attack. Keep jumping up to it's head to deal as much damage as possible.
Watch out for it's stomping attack by it's feet and breeze through this first boss fight!
Rewards: None
At the end of the fight, head to the cliff edge to await Lyza's fate.
Tianeea, the Fire Village
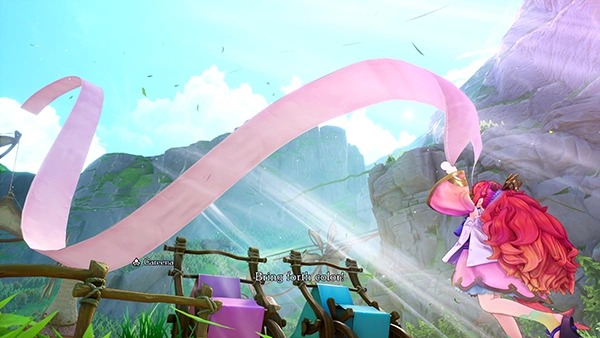
In Tianeea, you are introduced to the main character Val, who is a Soul Guard, chosen to protect the Alm of Fire, Hinna.
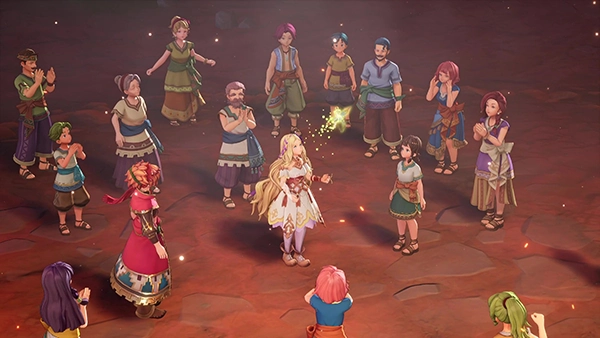
Go and find Hinna and watch as the ceremony of her becoming the Alm Of Fire takes place.
You'll want to purchase some new gear from the Weapon Store:
- Patchwork Vest
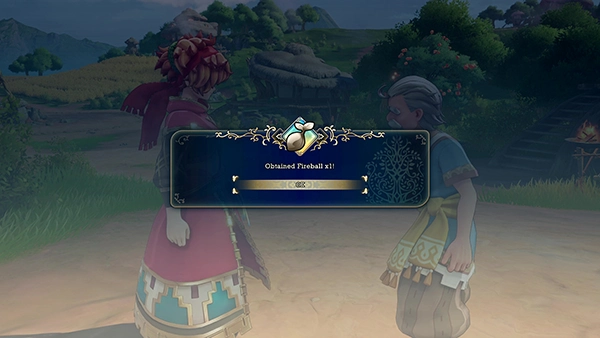
You'll also be given the Fireball ability when you speak to the old man named Master Fiugo.
Ability Seeds: Some abilities come in the form of items. You can equip them to your character from the main menu and then assign them to Shortcut keys to use in battle.
When you're ready to leave, speak to Hinna at the campfire and you'll be able to make your way to the Charred Passage.
Charred Passage
The next destination is Longren and you'll need to venture through the Charred Passage to get there.
You'll get an introduction to the Visions Of Mana Battle System again, learning how to use Shortcuts. They are vital for making battles more easy, so make sure you get to grips with the feature.
You'll find several useful items here in Treasure Chests (use the interactive map to find their locations):
- Critical Rate Boost (seed) (Treasure Chest)
- Falchion (weapon for Val) (Treasure Chest)
- Strength Sigil (seed) (Treasure Chest)
Don't head into the Ruins just yet. There are Level 50 mobs waiting for you and will destroy you within seconds!
If you head to the star, you'll come across Eoren (remember him from the beginning?). He says he is out here looking at the soil or something...
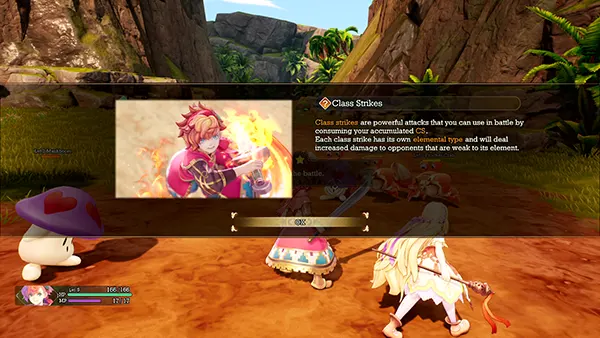
You'll also get introduced to Class Strikes, another Battle Mechanic. These are overpowered moves that charge up during battles. They can be used to deal lots of damage at once. You can change the CS meter by dealing damage and taking damage.
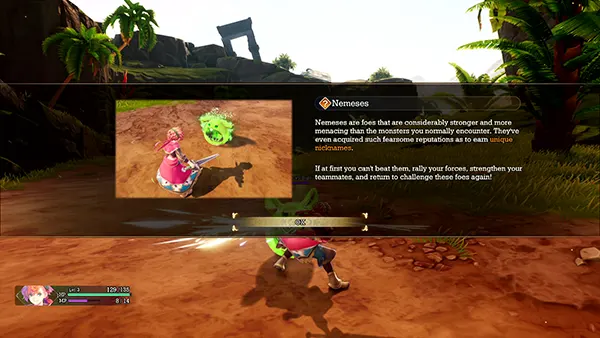
One other thing to look out for are Nemeses Battles.
These are powerful mobs that appear on the map (sort of like mini-bosses). Defeating them rewards lots of EXP and Lucre.
You can return to them when you're stronger, so don't worry too much about tackling them right now. Use the Interactive Map above to find them.
In the Charred Passage, you can find the Tricky Buju Nemeses, which is quite easy to take out!
After the cutscene, head towards the next area called Aery Passage
Aery Passage
Another big area full of goodies!
You'll find several useful items here in Treasure Chests (use the interactive map to find their locations):
- Stamina Sigil (seed) (Treasure Chest)
- Shuriken (seed) (Treasure Chest)
- Spirit Sigil (seed) (Treasure Chest)
- Chime Vestment (armor) (Treasure Chest)
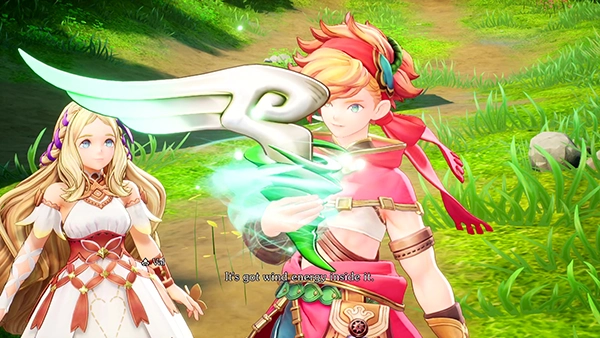
You'll come across the Vessel of Wind.
This is an Elemental Vessel, which seems to have been stolen by a few pesky kids. You need to take it to Longren and return it to the original owner. You'll learn about these items later.
Head to Longren, the Vale Of Wind to continue the story.
Longren - Vale Of Wind
Longren is a home area so you can't double jump or dash, but you won't find any enemies here either!
These items are worth picking up from Treasure Chests in this map:
- Daybreak Spear (weapon for Careena)
- Resist Poison (seed)
That being said, there is a Weapon Shop and Item shop for you to stock up on!
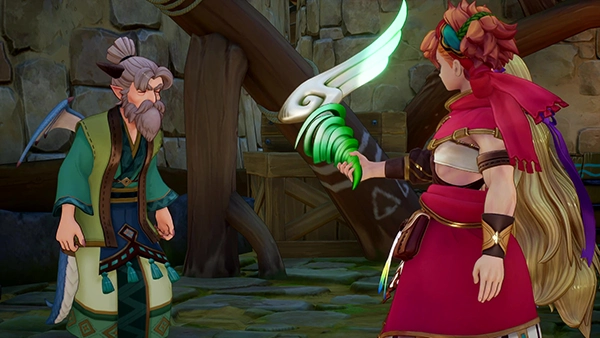
To progress the main story, speak to the chief of the town and return the elemental vessel. He tells you that the Alm Of Wind has not yet been decided due to Careena not wanting to attune the winds.
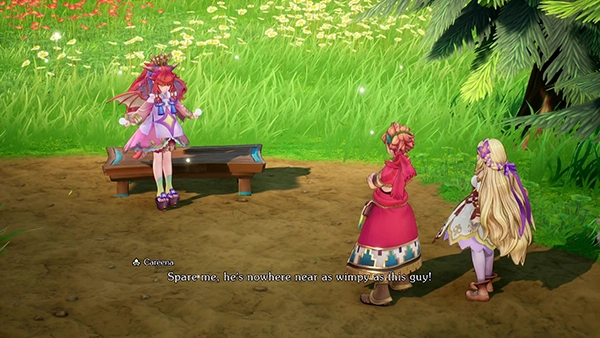
Go and speak to Careena and she'll put you on a task to find her boyfriend Shiriu.
Sidequests
You'll find many Side Quests in Visions Of Mana. Our Side Quests Guide will list all of them and links to each individual quest on how to complete it.
The Where Is Shiriu quest is more of a main story quest, since it needs to be completed in order to progress.
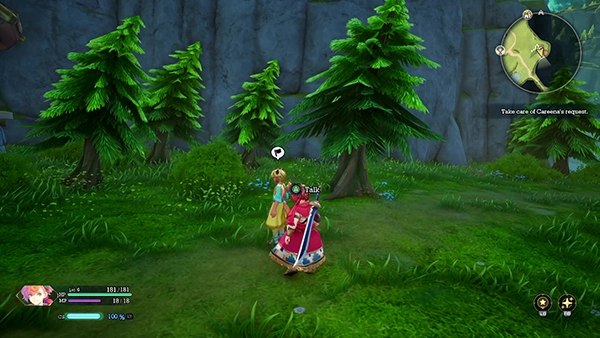
You can find Shiriu back at the Aery Passage. If you check your map, an icon will display where the quest is.
Once you speak to him, head back to Longren and speak to Careena. She refuses to help attune the winds, so looks like you'll have to do it.
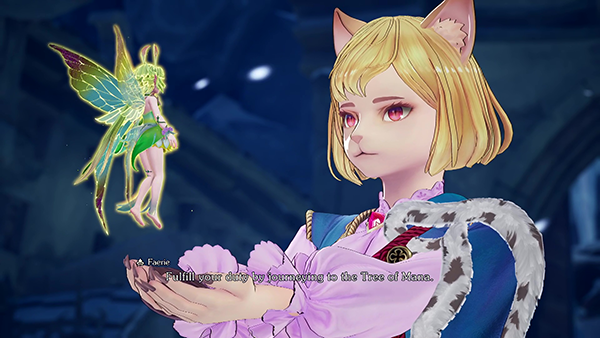
Head up the mountain in Longren and just as you're about to perform the ceremony, Careena steps in! How nice of her! This in turn summons the faerie, who chooses Shiriu to be the Alm Of Wind. Unfortunately for the Faerie, he doesn't want the task.
Careena demands to become the alm and the faerie says you need to seek permission from the Sylphid.
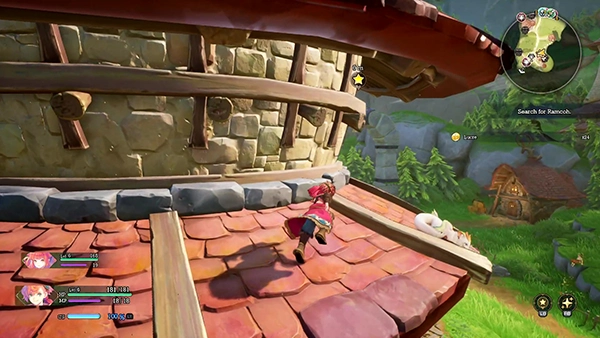
Before you leave, you need to find Ramcoh, Careena's dragon buddy. You can find him snoozing on one of the houses.
You might also want to complete the following Visions Of Mana Side Quests:
- Find and Replace (Reward: Healing Light seed)
- Words on the Wind (Reward: Lucre x360)
- Fungus Finger Fun (Reward: Arrow Rain seed)
- Behind the Scenery 1 (Reward: Gold Clover x10)
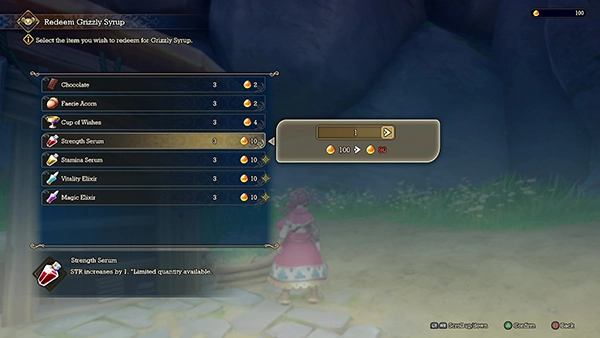
As you head towards Mt. Gala, you'll also come across Dudbear. He allows you to buy items with any Grizzly Syrup you have found. He has limited quantities, so buy up all his stat-boosting potions!
As you leave, you'll also be given two Ability seeds:
- Strength Sigil (raises STR by 10%)
- Stamina Sigil (raises MAX HP by 10%)
Mt. Gala
In Mt. Gala, these items are worth picking up from Treasure Chests:
- Intellect Sigil (seed)
- Ice Smash (seed)
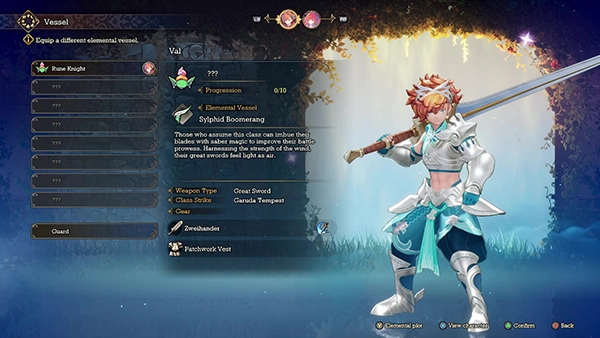
In Mt. Gala you'll unlock your first Elemental Vessel: Slyphid Boomerand. This unlocks the Rune Knight class when equipped to a character.
Elemental Vessels give each character new skills they can use in battle. You unlock those skills using the Elemental Plot, all from your UI. If you're confused, check out our Elemental Vessel Guide.
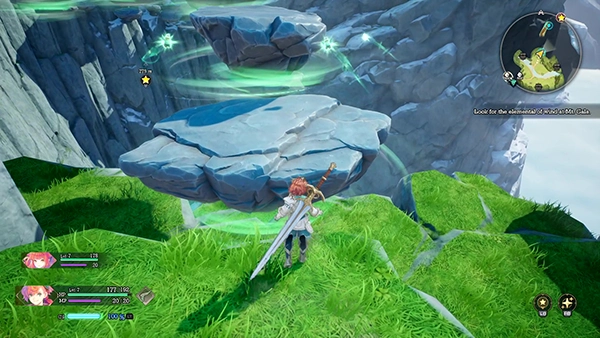
In the Mt. Gala region, you can use your new Elemental Vessel power to unlock various waypoints that allow you to traverse the map. They're quite easy to use so don't worry too much.
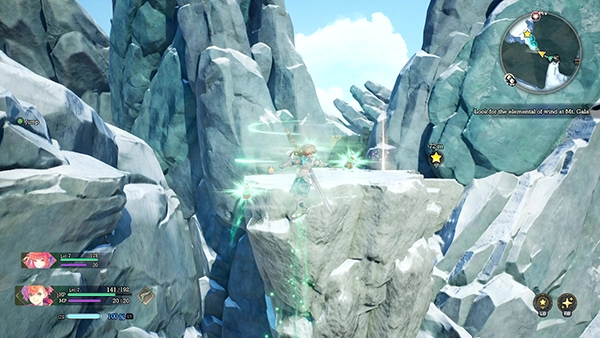
Make your way through the Mt. Gala region and when you come to the Save Point after flying through the air, save the game and then pop an EXP Boosting Item. You're about to face a boss and they give plenty of EXP!
Tip: Pop a Mythic Cookie to increase your EXP and a Opulent Incense to increase your Lucre rewards before the boss fight!
Boss Fight - Mantis Ant
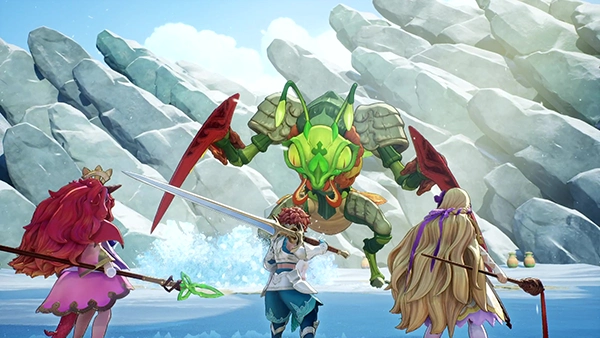
Level: 7
The boss is Level 7, so hopefully you're around this level to.
If you've got your Class Strike charged, launch it right away so that you can potentially charge a second one before the end of the fight.
The Mantis Ant's weak spot is it's tail; hit it and you'll be able to avoid most of it's attacks and stun it to deal critical damage.
Watch out for it's jump back move; the ground will glow red to indicate it's about to jump on you, so you'll need to dash either side.
His other moves consist of firing out fireballs, swiping with it's hands and dealing poison mist plumes.
Since you might be new to fighting in Visions Of Mana, make sure you use your Elemental Vessel attack. The Sylphid Boomberand will fire at range and deal decent damage, allowing you to keep out of harms way. It charges every 30 seconds or so!
Check out the video below for more tips!
Reward:
- 300 Lucre
- 1,650 EXP
- Elemental Points: 3
- Mantis Ant Corestone
Now that Careena has been chosen as the Alm Of Wind, it's time to carry on with the journey to the Tree Of Mana.
Next up is the Lefeya Drifts!
Lefeya Drifts
Lefeya Drifts is another big map with lots to do! First, head to Etaern as it will make things a lot easier later and help you complete the challenges.
The following items can be found in Treasure Chests here:
- Autumn Fan (Careena weapon)
- Strafe (seed)
Etaern

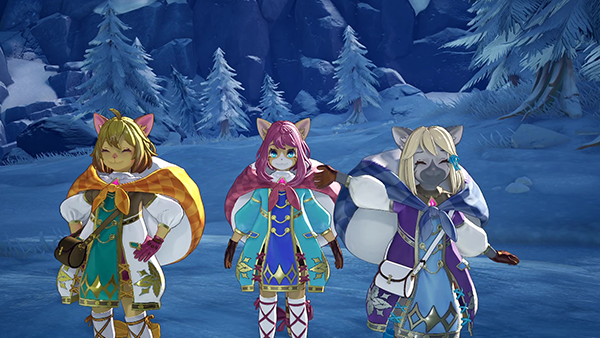
When you arrive at Etaern, you'll be introduced to Morley. He joins your party and now you can head back to Lefeya Drifts; this will make all those Nemeses monsters a lot easier to defeat.

Morley asks you to help him find the Luna Globe. You can find it at the Lefera Drifts- head to each location and you'll eventually uncover it.
Elemental Aeries: In Lefeya Drifts, you'll come across Elemental Aeries. These are challenges that will spawn waves of mobs that you need to defeat. Defeating all of them will reward you with a special Treasure Chest.
When you find the Luna Globe, you'll head back to Etaern where several cutscenes will follow showing Morley's story.
You'll end up chasing Morley back into Lefeya Drifts and unlock the Luna Globe Elemental Vessel, providing you with new classes!
When you finally head back to Etaern, Morley will become the Alm Of the Moon.
As you go to leave Etaern, you'll come across the Merchant Sisters who can sell you some equipment. You don't need to buy all the equipment; choose the best ones for the classes you are currently running.
Rime Falls
Next up is Rime Falls! This area is home to Blue Ooze mobs that can freeze you; if you equip the Resist Freeze seed, you can reduce the chance of frozen by 30%.

TIP: You'll come across Lil Cactus on your journey, which are hidden in maps all across the game. It's worth finding them as they can give you a 2x EXP Boost Rate!
Like before, you can now use your Elemental Vessel to slow down time, allowing you to cross the rivers without taking damage.
As you get towards the end of Rime Falls, you'll be put into a battle of two waves of monsters. If you find they do too much damage, just use your Class Strike to wipe out a round and make sure you have the Elemental Vessels equipped to deal damage.
Fallow Steppe
This is a huge map!
But luckily, you get a Pikul, which acts as a mount that you can summon on any map! Hold X to dismount. Use the Beckon Bell shortcut to summon them.
There are two side quests to complete on this map:
- No Place Like Home (Reward: Purger Of Evil)
- Danger In The Dirt (Reward: Lucre x1490)
You'll also want to pick up these items from Treasure Chests on your way:
- Class Strike Damage (seed)
- Protection (seed)
Head through the Fallow Steppe to get to Rhata Harbor
Rhata Harbor
The final area of Chapter One! Good job on making it this far.
There are several quests you can complete here:
- A Cascade Of Critters (Reward: Lucre x1440)
- A Force To Bee Reckoned With (Reward: Blessing Of Water (seed))
- Behind The Scenery 2 (Reward: Gold Clover x20)
- Lost and Found (Reward: Luck Sigil (seed))

There are several cutscenes in this place where you meet up with Eoren and Master Passar. Careena will get accused of stealing a key, but you can find it from a Treasure Chest on the map.
Eventually, you'll be allowed to board the boat and take you to the Capital Of The Deep.
Tip: Pop a Mythic Cookie to increase your EXP and a Opulent Incense to increase your Lucre rewards before the boss fight!
Boss Fight - Kraken
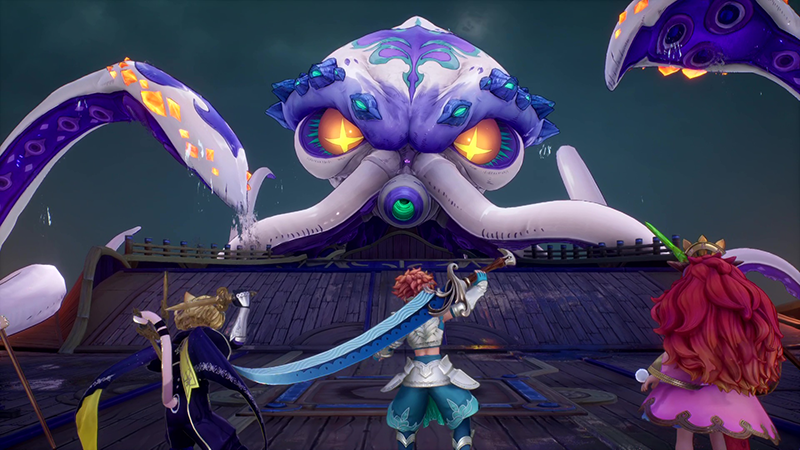
Level: 10
Kraken is the chapter-ending boss so make sure you have your wits about you!
Overall, the boss is quite easy. You'll start the fight by dodging the tentacles; once they've swiped head over to them and deal damage. They are weak to Lightning Damage.
When the Kraken starts blowing out bubbles, head to the corner where the tentacles are and deal damage. You should be able to easily dodge the bubbles from this position.
The Kraken can also summon Tezla mobs, fire ink jets at you and tilt the boat back. When the mobs spawn, you should take them out as they can easily cause you trouble if left unanswered.
Most of your damage will come when it spawns those bubbles as the tentacles do not move around, allowing you to get lots of hits in.
Rewards:
- 900 Lucre
- 4,950 EXP
- Soul Guard Tonic
And that wraps up Chapter One of the Visions Of Mana Walkthrough! Phew! Let us know in the comments if we missed anything.

Discussion