In Chapter Seven you must deal with five more Benevodons as things start to heat up in Visions Of Mana!
When you return back to Log'grattzo Dark Archives, Aesh will go back to documenting the events that have happened and four new points of interest will appear.
- Longren, Vale Of the Wind
- Wind Sactum
- Boss Fight - Aello and Ocypete
- Boss Fight - Besseroth, Benevodon of Wind
- Illystana - Capital Of The Deep
- Luka Ruins Underground
- Boss Fight - Shreegill
- Boss Fight - Gandoom, Benevodon of Water
- Etaern - the Moonlit Parish
- Castle Cresceno
- Boss Fight - Vampire
- Boss Fight - Tor Marne, Benevodon of the Moon
- Verdeus Borough
- Floating Isle Of Ulul
- Boss Fight - Floaret, Benevodon of Wood
- Tianeea
- Dorpher Volcano
- Boss Fight - Axe Beak
- Boss Fight - Vaulchibel, Benevodon of Fire
- Boss Fight - Daelophos
You can take on the next four Benevodons in any order you like. We recommend doing the ones that align with your party members classes, as each Benevodon you take out will allow you to expand your Elemental Plot!
Longren, Vale Of the Wind
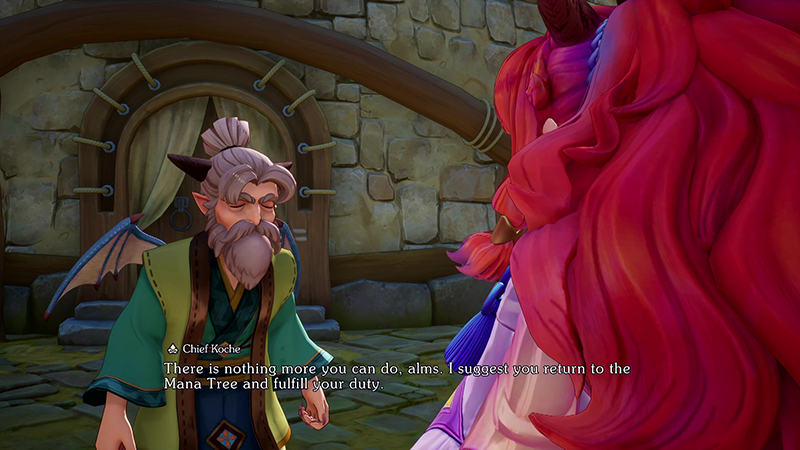
When you arrive back in Longren, you'll notice the wind is out of control. Speak to the Chief. He tells you that the Benevodon is in The Wind Sanctum.
You'll then be tasked with trying to convince the villagers to help unblock the path.
Wind Sactum
This area is quite linear; just follow the path around, activating the Elemental Vessel points to carry you across to the different Islands.
About halfway through, you'll fight your first boss...
Boss Fight - Aello and Ocypete
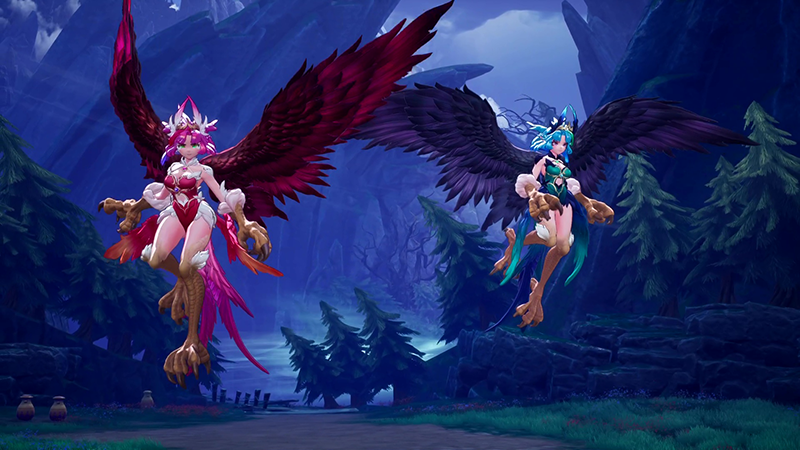
Level: 34
A two for one special! As ever with bosses that have more than one opponent, best to just focus on one boss first to make the other easier to deal with.
Both bosses are flying mobs- but they stay quite low to the ground for the most part.
Be careful of Aello's Ice ball attack; you can get hit multiple times in one go and get wiped out instantly. Aello can also unleash several whirlwinds that zig-zag across the map, making it hard to dodge.
They can also swoop down on you and grab you, making you useless for several seconds before they chuck you for more damage.
Both bosses can be frozen too; so equip the Ice elemental attacks if you have them.
Both bosses will also join up and summon a giant pink heart- destroy it in enough time and you can stun them.
Once you take one out, the fight becomes a lot more simpler.
Rewards:
- Lucre x4,500
- 26,550 EXP
Unfortunately, that wasn't the Benevodon! That is still to come!
Continue along the path and prepare for your next fight...
Boss Fight - Besseroth, Benevodon of Wind
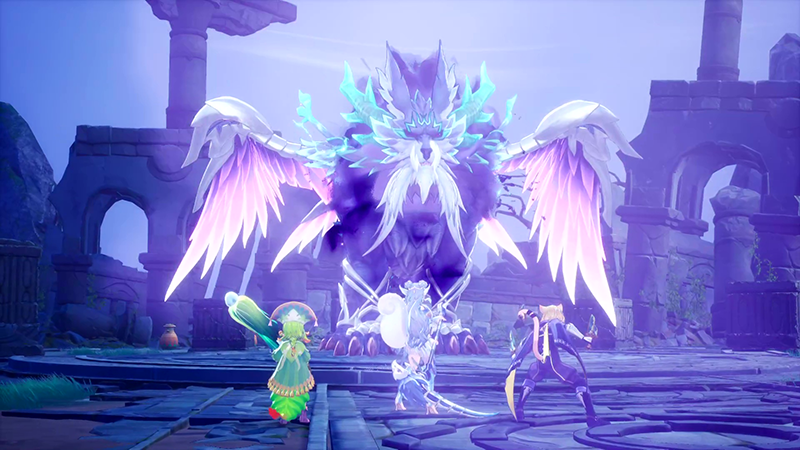
Level: 35
This fight was actually a lot easier than the previous two birds fight. Besseroth will start the fight by firing out three whirlwinds and launching himself at you.
Hit it's wings for a chance to stun it. You can use the stone blocks to help avoid attacks, but they don't last very long.
Equip any Null Paralyze seeds for this fight to avoid the status effect.
As the fight dwindles on, Besseroth's attack start getting more and more bigger; more whirlwinds and static lightning charges can wipe you out if you're not careful.
He will shoot out a huge darkness beam when his HP starts to go below 30%.
Rewards:
- Lucre x9,400
- 33,840 EXP
Woohoo! One Benevodon down! After the fight Shiriu turns up and Longren is saved!
Make sure to check out the equipment shops as they weapons they have get upgraded after each fight.
Illystana - Capital Of The Deep
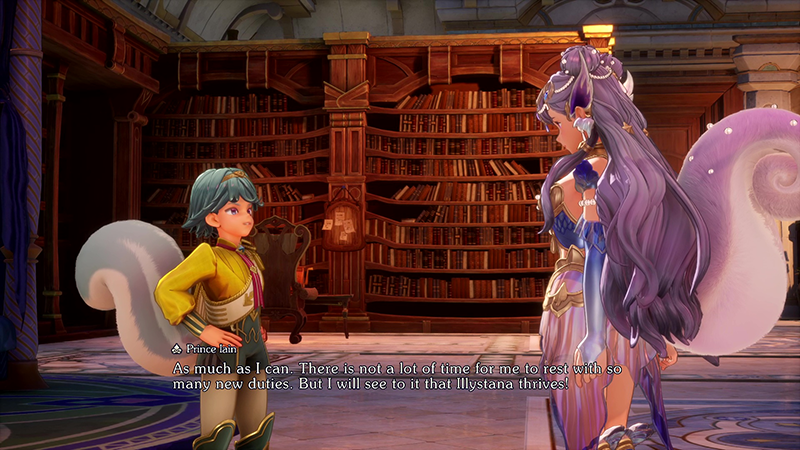
As you arrive at Illystana, everything seems to be in order. Palamena decides to drop in on her brother Iain to see how he is getting on with running Illystana.
You might want to take this opportunity to spend some of your Niccolo Coins and get some better seeds to help boost your stats. Recommended:
- Life Sigil + (+20% HP)
- Strenght Sigil + (+20% STR)
- Intellect Sigil + (+20% INT)
Head to the Palace of Illystana.
It turns out Iain is not doing so well. Calamity happens just at that moment and all water is drained from Illystana.
Next stop, Luka Ruins!
Luka Ruins Underground
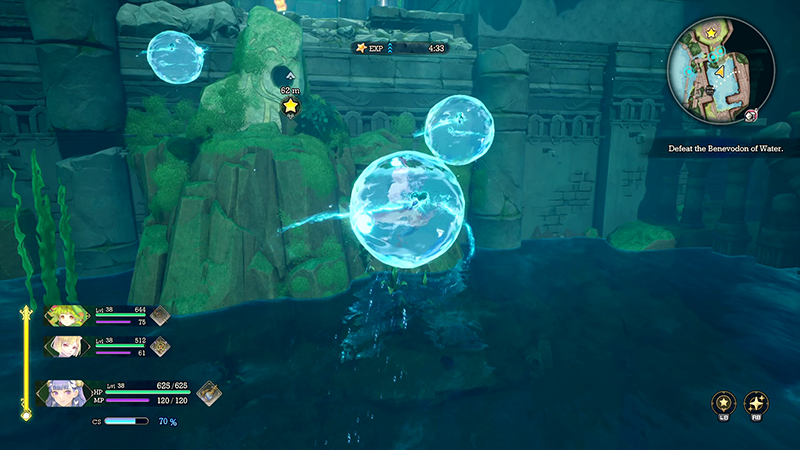
Head to the Luka Ruins and go the same way you went before towards the elevator. After a small skirmish, you'll be able to access the Luka Ruins Underground level.
Make your way through the map; again it's quite linear. Just activate the Elemental Vessel to use Bubbles to float up and down across the map.
Eventually you'll come across your first challenge...
Boss Fight - Shreegill
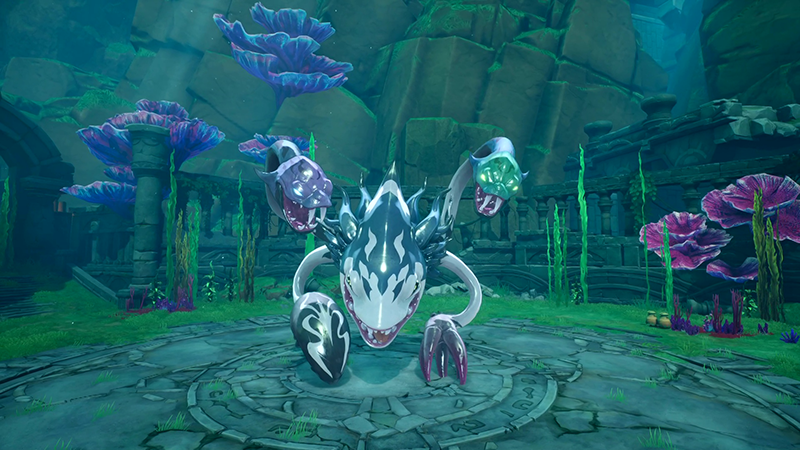
Level: 37
Hopefully you're running some Fire abilities and skills since in Visions Of Mana, water = weak to fire.
Shreegill will start the fight by shoving it's tentacle into the ground and then three glowing spots will follow you around the map, eventually shooting out more tentacles. Easy enough to dodge!
Other attacks include shooting out a jet stream of bubbles, a spinning whirlwind of water tornado and it's own spin attack.
Once it's HP gets below 50%, all the attacks will grow in size making them harder to dodge. Keep pummeling it with fire range attacks as much as possible; use the item pots to regain mana if you have to.
Rewards:
- Lucre x5200
- 31,050 EXP
Once Shreegill is out of the way, you can make your way to the Water Benevodon!
Boss Fight - Gandoom, Benevodon of Water
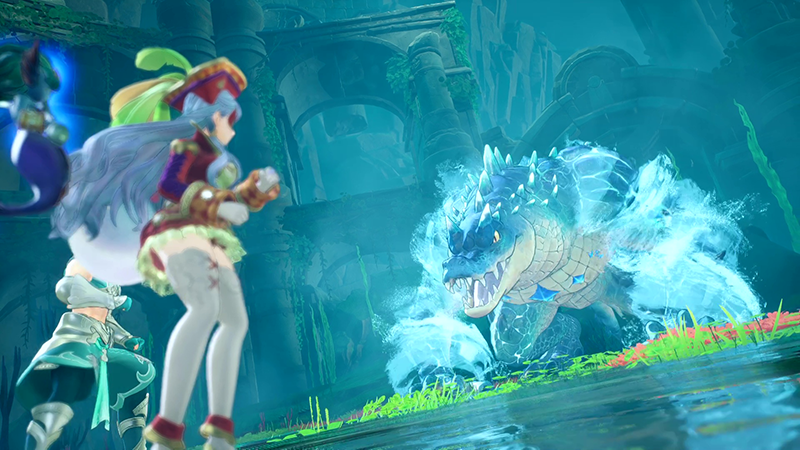
Level: 38
Gandoom is weak to fire attacks, so stick with the Fire Elemental Vessel and any Fire attacks like the Blaze Wall which will deal lots of damage to standing still targets.
This is one of the tougher Benevodon's you'll fight, so make sure you have lots of HP, set the strategy to prioritize staying alive and be extra cautious.
One of Gandoom's main attacks is summoning a giant bubble of water that covers 70% of the arena and causes heavy damage to anyone caught in it. You can watch out for it by looking either at the ground glowing red or it's head covered in a water bubble.
Other devastating attacks include it's tail slash attack, which gets bigger when it has less HP.
You will want to make sure you're watching your party's HP- if it gets low hit them with a Healing Light spell. Gandoom's attack chain really fast and your party will play quite dumb in terms of avoiding attacks.
Rewards:
- Lucre x11,000
- 39,240 EXP
- Water Queen Tonic
You can now expand Palamena's Elemental Plot!
Etaern - the Moonlit Parish

Next stop is Morley's Etaern. It seems strange things are happening to the people of Etaern, messing with people's emotions.
After you stay at the inn, Luna, Elemental of the Moon, tells you about the Castle Cresceno where the Benevodon is residing. Defeating it should fix everyone's sporadic moods.
Don't forget to pick up new equipment from the Merchant Siblings!
Castle Cresceno
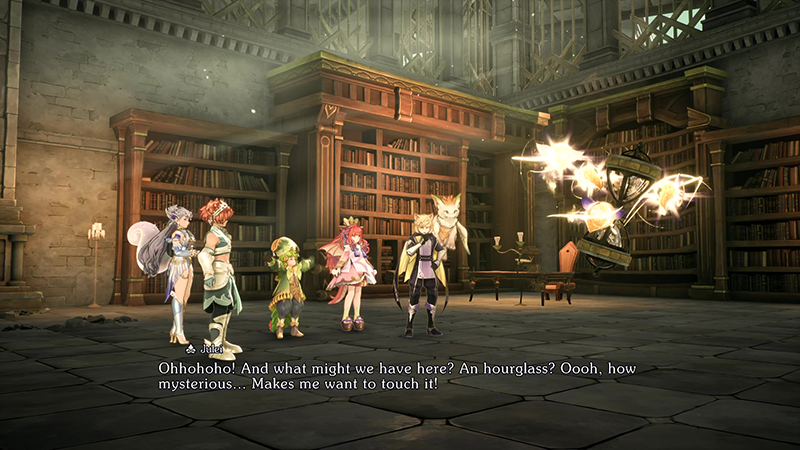
Inside the Castle Cresceno you'll find several Hourglasses that can be used to change the time in rooms, revealing new areas.
Again, the level is mostly linear, so whenever you come across one of these hourglasses just use it and it will reveal the next area.
You'll eventually run into your first boss...
Boss Fight - Vampire
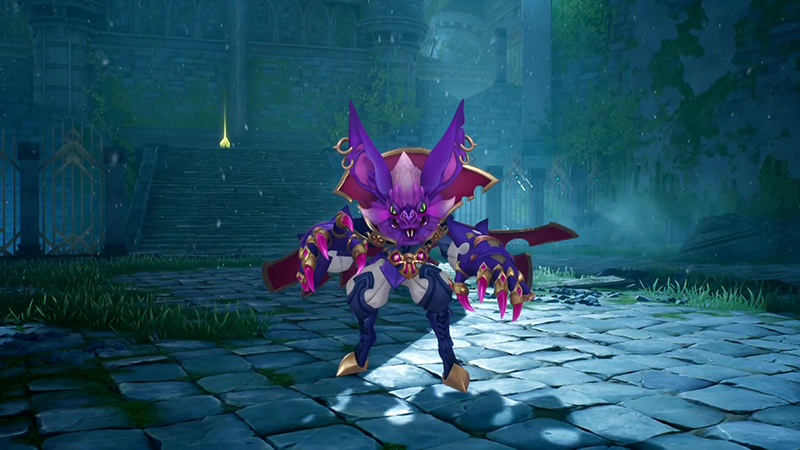
Level: 39
The Vampire has a really annoying move where it shoots out rings which will cause you to fall asleep when hit. The rings get bigger and bigger as they shoot out and are quite difficult to dodge so if you have any prevent sleep seeds, equip them!
It's other moves consist of jumping consecutively on top of you, but it's easy enough to dodge and you can get it several hits once the move is over.
He will also cast darkness on the arena, making it hard to track him, whilst also summoning mobs to help cause even more chaos.
The key to the fight is to position yourself behind him as often as possible; this will help avoid the sleep rings and allow you to get in several melee hits to replenish your mana.
Oh, and he can also heal! This fight can take quite long if you get knocked out with sleep!
Rewards:
- Lucre x5700
- 41,724 EXP
After the fight, it's a simple walk across some stone steps to the next Benevodon!
Boss Fight - Tor Marne, Benevodon of the Moon

Level: 40
Ah- the cute little frog that turns into a sphere! This frog likes to summon lots of spheres that if you enter will slow you down (like the Elemental Vessel move!).
He will also jump around and fire projectiles at you. When he jumps into the air, he'll fire lots more projectiles, but they're easy to dodge if you get underneath him.
Overall this is one of the easier Benevodons you'll face; he is very easy to stun when in the air doing his major move.
Reward:
- Lucre x12,000
- 35,850 EXP
- Radiant Knight Tonic
You can now expand Morley's Elemental Plot with the Radiant Knight Tonic!
Verdeus Borough
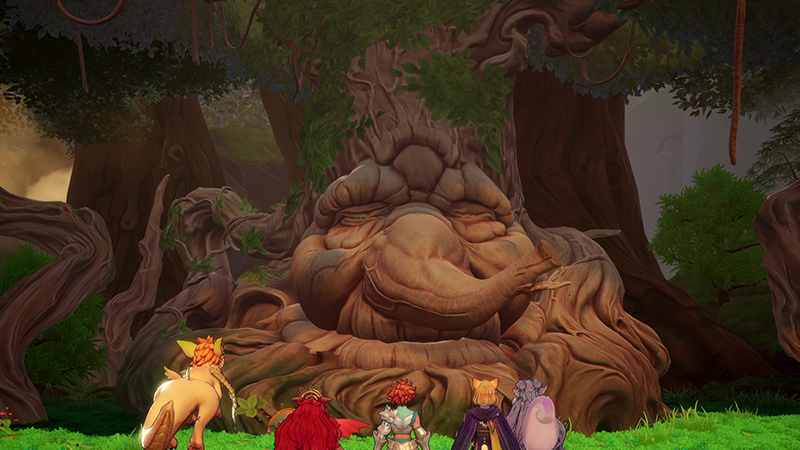
When you arrive at the Borough, you'll notice several feathers lying around. Julei tells you his sproutlings have been attacked.
Head to the top of the borough to find Dryad. You're next stop is to go speak to Trent at the Sanctuary Entrance.
Before you set off, make sure to buy new equipment and armor from the Merchant Sisters.
When you reach Trent, you find out he is sick. Palamena mentions Aesh might have the cure, so you now need to travel all the way to Log'grattzo.
Aesh will give you a flower, now return back to Trent to give it to him. He will tell you to go to the floating island in the sky, known as Floating Isle.
Floating Isle Of Ulul
Head up the hill in Floating Isle and you'll eventually come across the Benevodon.
Boss Fight - Floaret, Benevodon of Wood
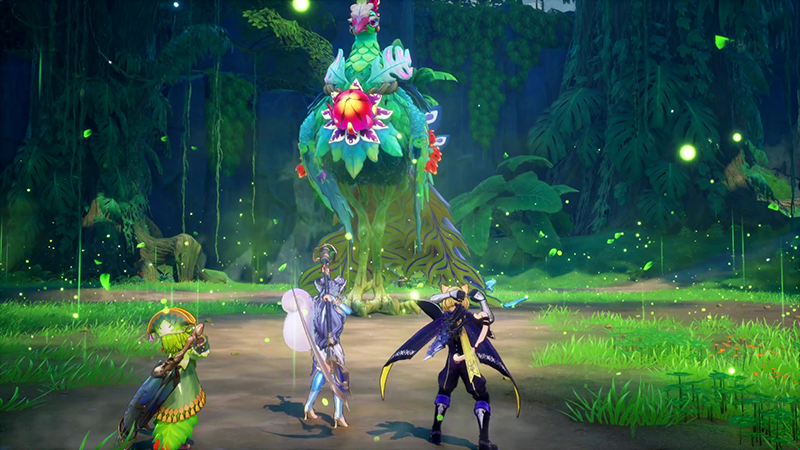
Level: 42
Despite being a bird, Floaret will spend most of its time on the ground so you won't have to deal too much with annoying aerial attacks.
At the start of the fight, Floaret will fire out a bunch of projectiles, so you want to try to position yourself behind it as soon as possible.
It will also summon vines to come shooting out of the ground that follow you as you move, so have your dash button ready.
It's biggest attack involves covering 80% of the arena and causing a massive whirlwind that will hit for heavy damage. Having a healer like Julei for this fight will help get everyone back to full hp.
Once it's HP gets low, it will start chaining melee attacks that can wipe you out, so try not to position yourself in front of the bird too often.
It can also summon mobs, but they are easy enough to deal with.
Rewards:
- Lucre x13,200
- 39,150 EXP
- Wood Sprite Tonic
Tianeea
As soon as you take down all four Benevodons, Tianeea's volcano will become active and the final Benevodon is in sight!
Upgrade your equipment by purchasing new items from the Weapon and Armor vendors. Then head to the docks when you'll meet Mayor Cuesta. She will give you the Dorpher Volcano Key, which will allow you to access the Volcano from Charred Passage.
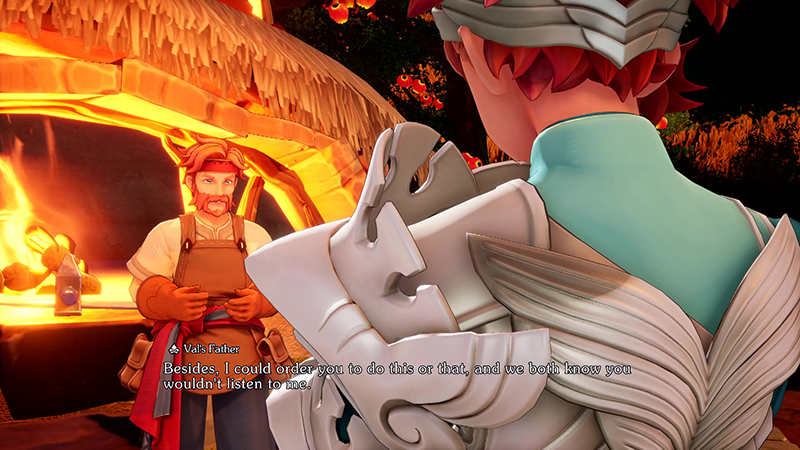
After a quick visit to Val's parents, head to the Charred Passage. From there you can now access Dorpher Volcano towards the north of Charred Passage.
Dorpher Volcano
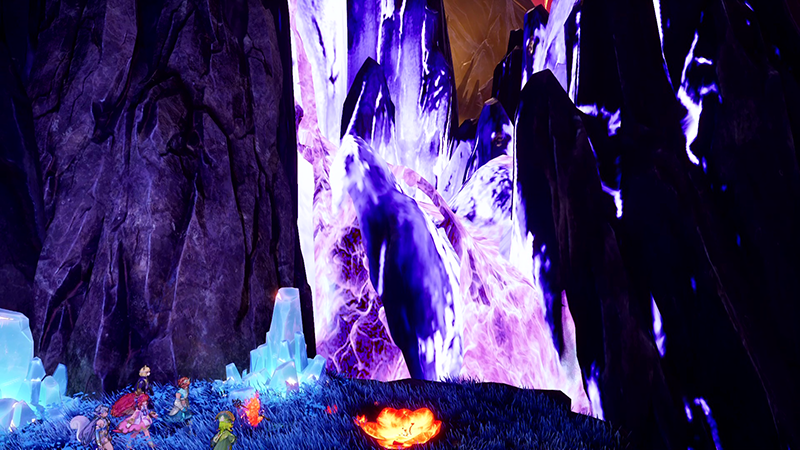
You'll find that there is blue lava blocking your path to access the Benevodon. You need to turn it to stone by accessing the two areas either side of the mountain.
Boss Fight - Axe Beak
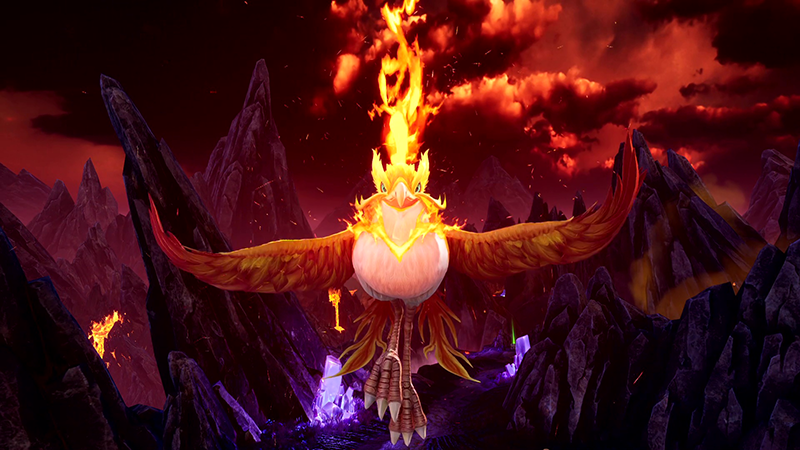
Level: 46
Before you fight the Benevodon, you have Axe Beak to deal with. Hopefully you're running plenty of water attacks as all the fire mobs here are weak to it.
Axe Beak will leap around the arena, shooting out bursts of flame. It can also rise into the air and shoot out projectiles. All of this is easy to dodge.
It's strongest attacks are the fire spin moves, which also cast Burn status effect.
Rewards:
- Lucre x7,700
- 46,200 EXP
Use the Salamander Candle to access the Benevodon.
Boss Fight - Vaulchibel, Benevodon of Fire
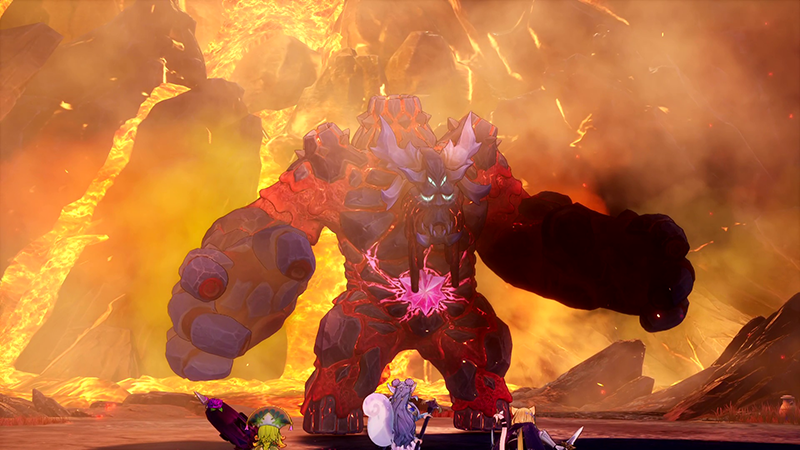
Level: 47
Vaulchibel can bury underground and climb up towards your position, leaving in its wake lava that causes burn. If you're not too careful, the Arena can get full of this stuff, making the battle a lot harder, so equipping Null Burn is a great choice!
Apart from firing down fireballs and slamming at your with it's massive fists, Vaulchibel will also power up a huge fire attack in the middle of the arena, so stay on the outside edge unless you can stun him with Ice and Water attacks to interrupt the attack.
Overall, the fight is quite easy!
Rewards:
- Lucre x16,200
- 58,743 EXP
- Soul Guard Tonic
There are several cutscenes in Tianeea, where Val confronts Hinna's parents and you find Hinna's buried note.
Head to Log'grattzo to pick up Aesh and then head to the Entwine Bridgepass, which can be access from Ahrvet's Pasture.
Boss Fight - Daelophos
Level: 49
Another round with Daelophos awaits you and he has a few new moves from last time.
He will shoot out beams of light, which can be difficult to dodge if you get hit by one of them. His triple slash attack returns, so whenever you see him teleport, just start dashing like mad to get away from it.
At around 50% HP, he'll start summoning beams of light that rotate around the battle field. You'll need to time a dodge to get between them.
Once you get him down to 30% HP, he'll transform into another darkness version. Here he will start summoning waves of darkness balls that you can dodge by positioning either behind him or to his side.
He'll also summon three homing-projectiles that will hit target you one after another.
His main party piece is a small-area of attack darkness wave that will hit anyone caught too close to him.
Rewards:
- Lucre x18,000
- 54,000 EXP
And that wraps up Chapter Seven of the Visions Of Mana Walkthrough! Only one left and then it's time for end-game content!

Discussion